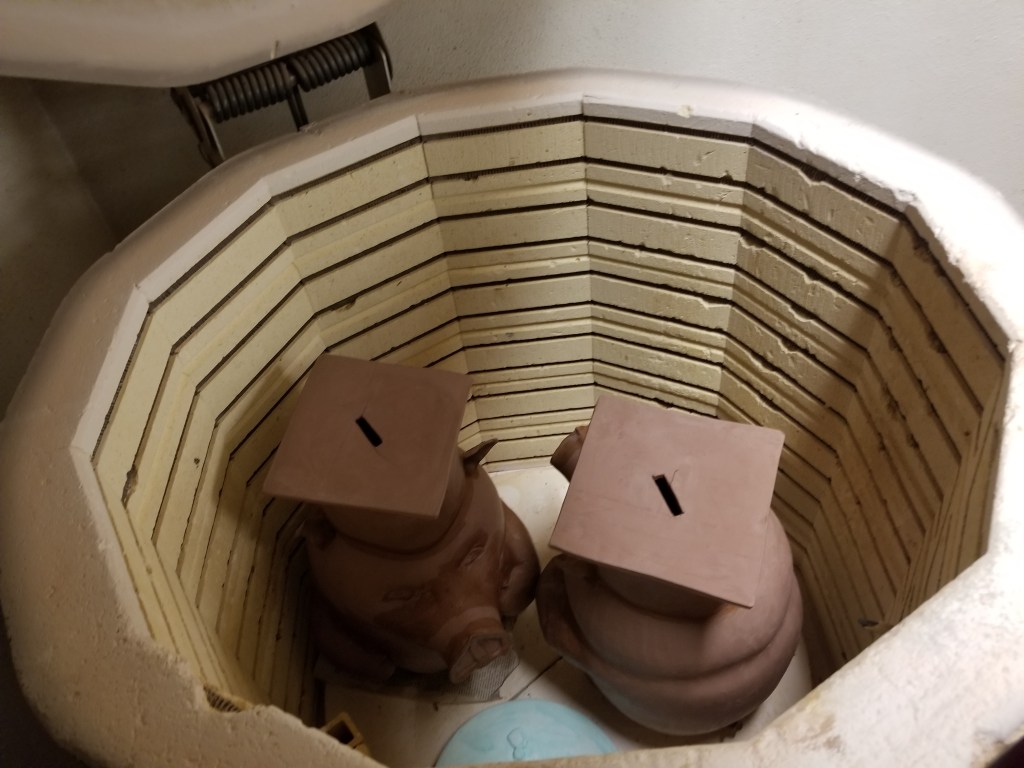
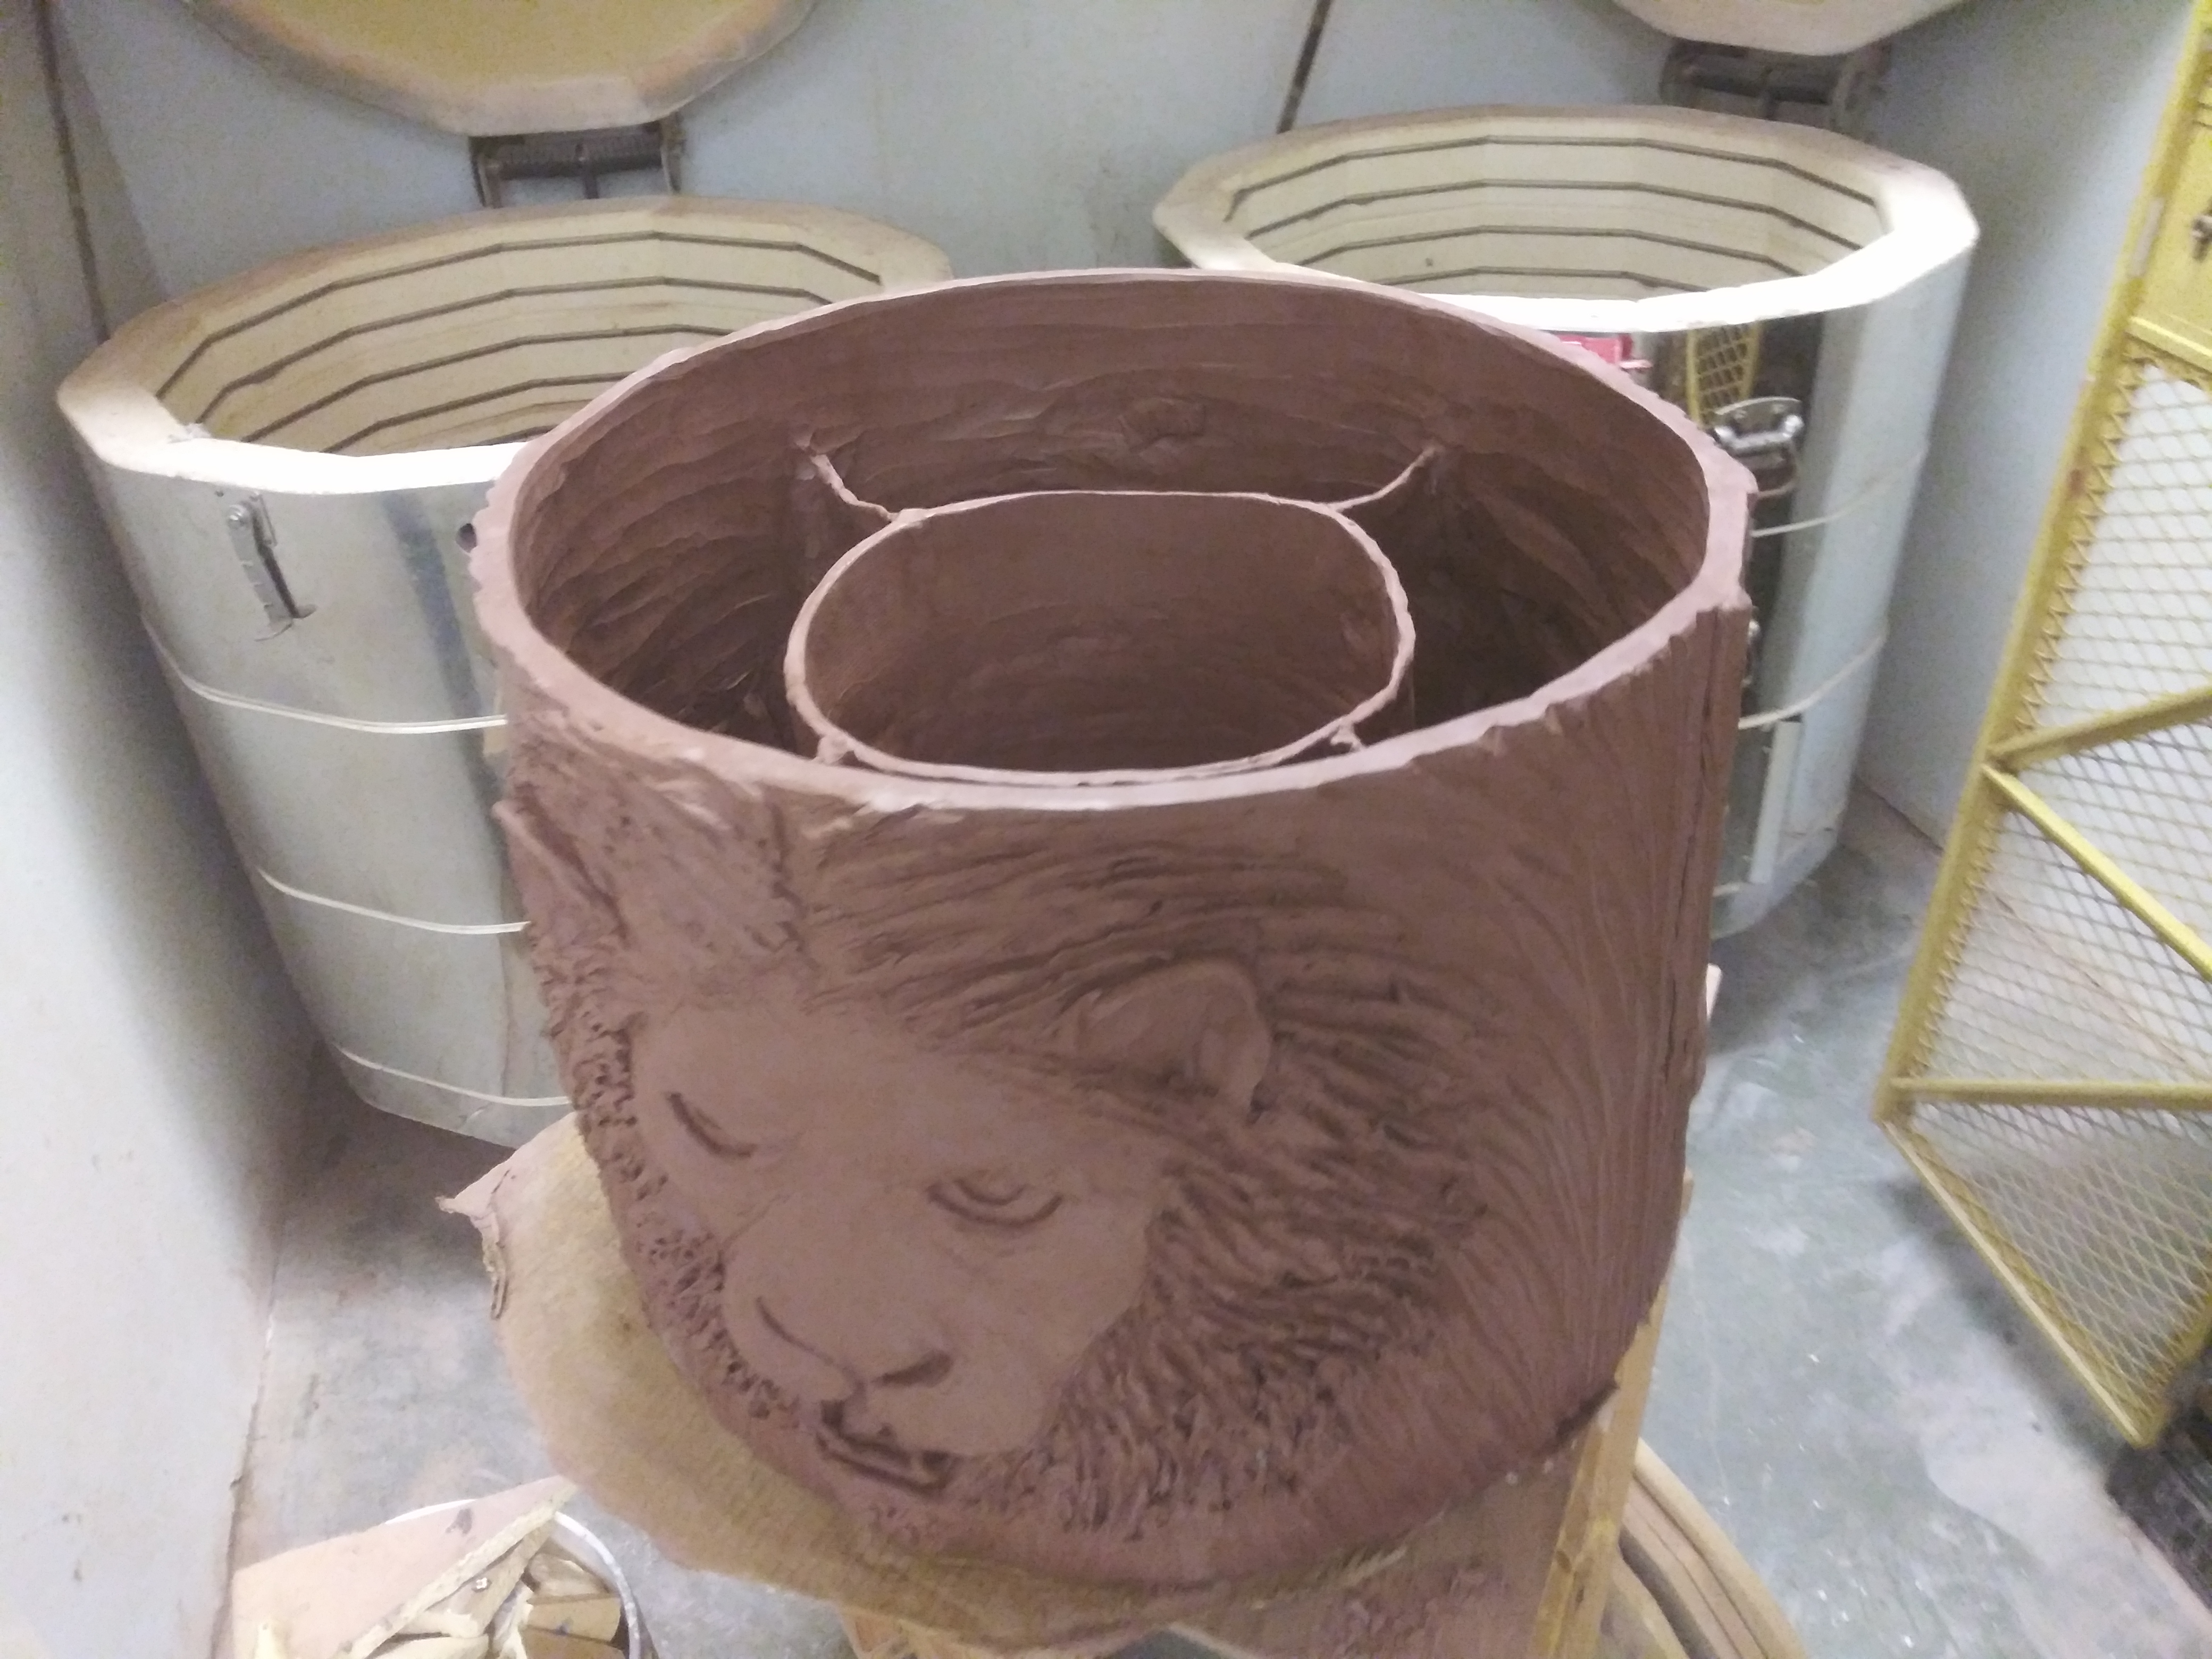
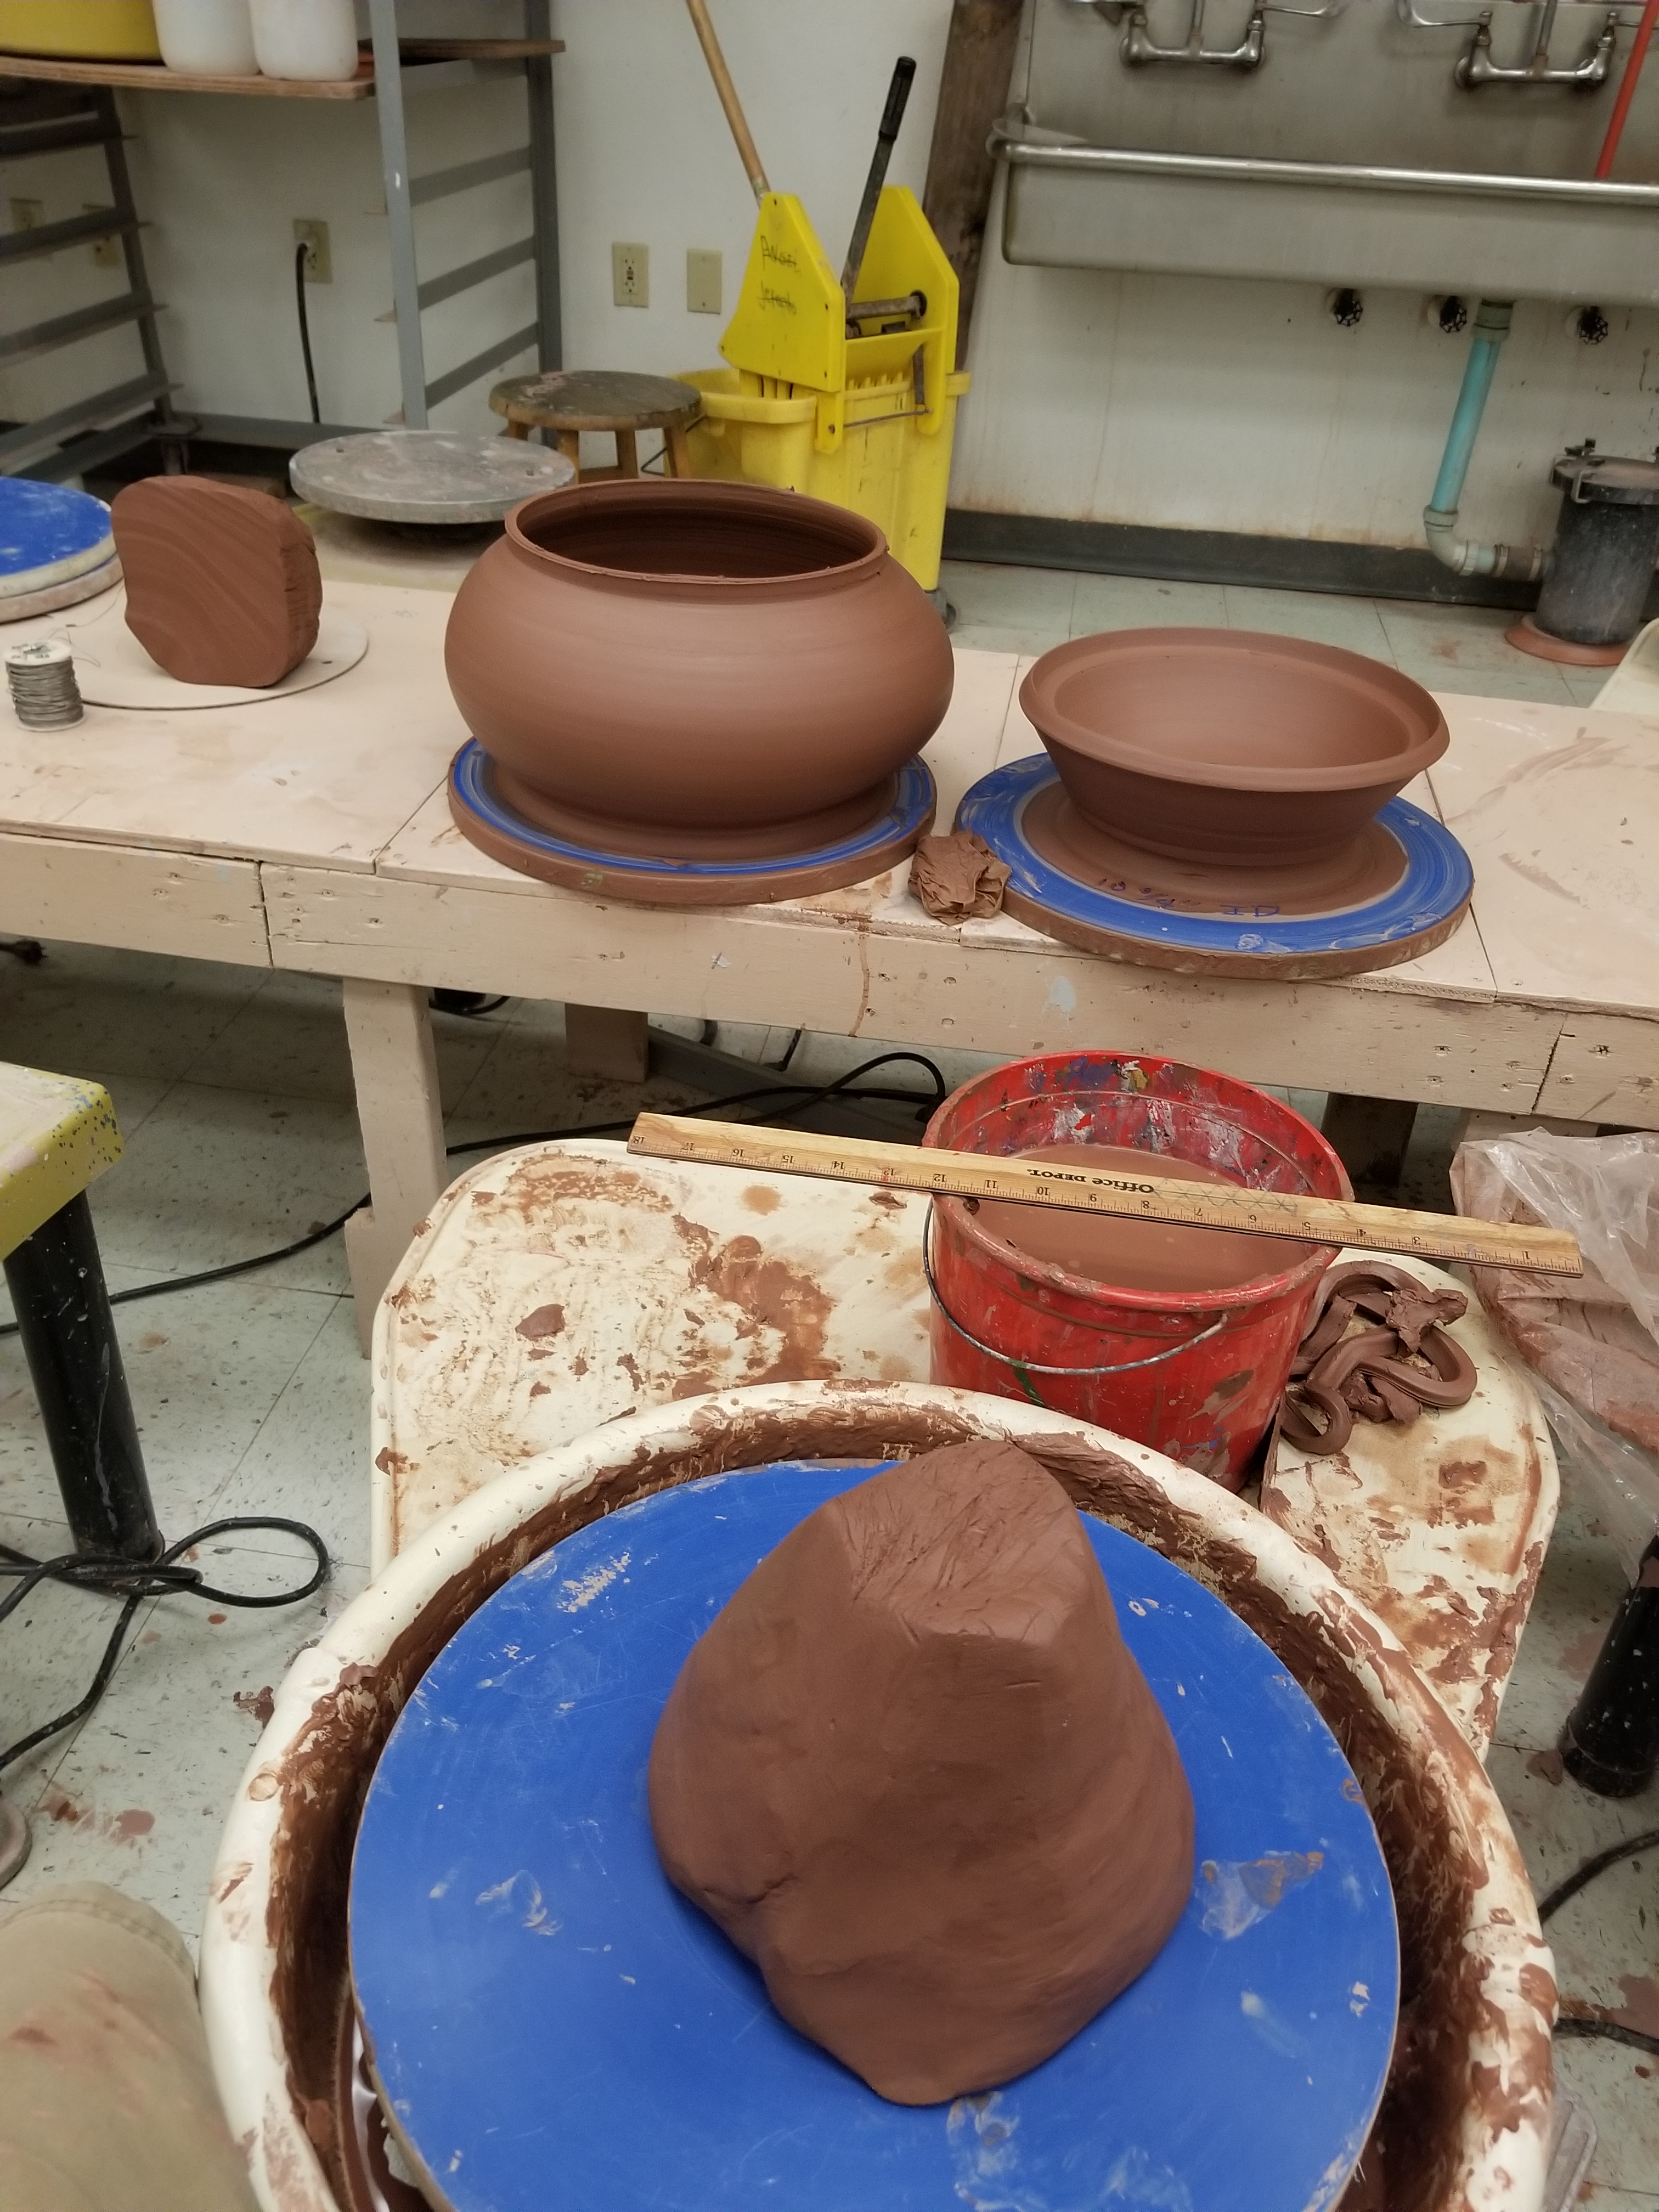
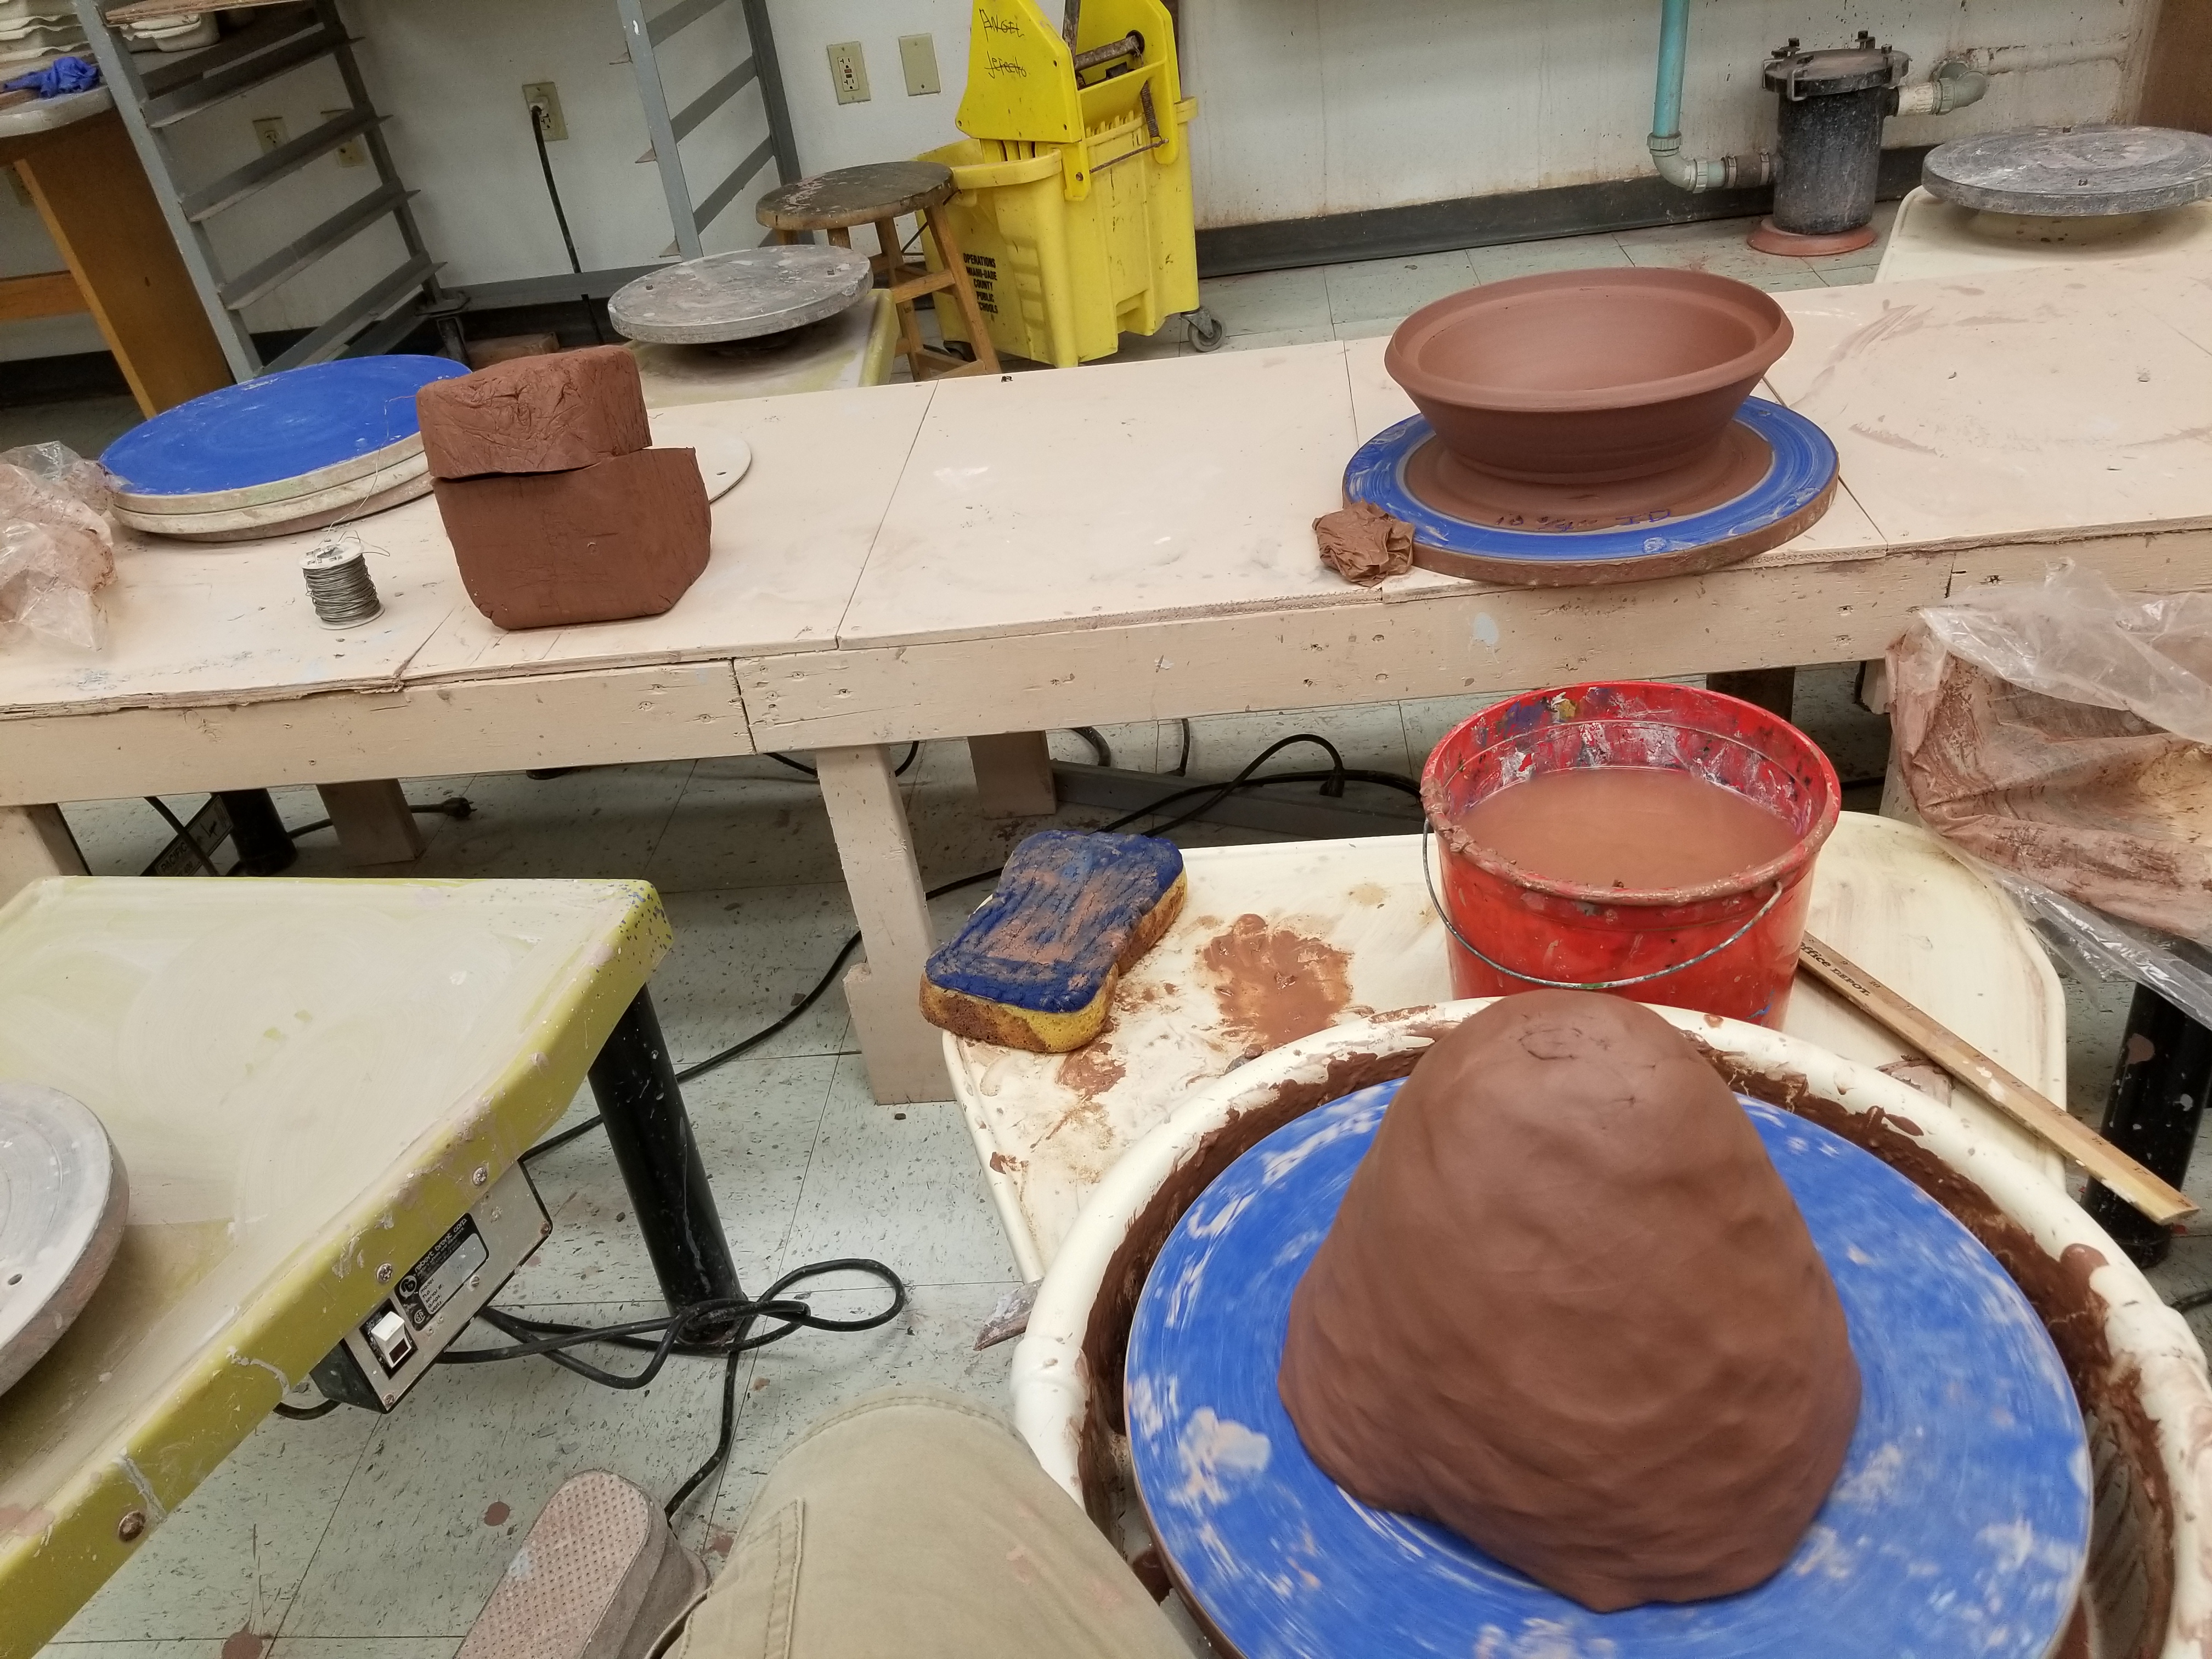
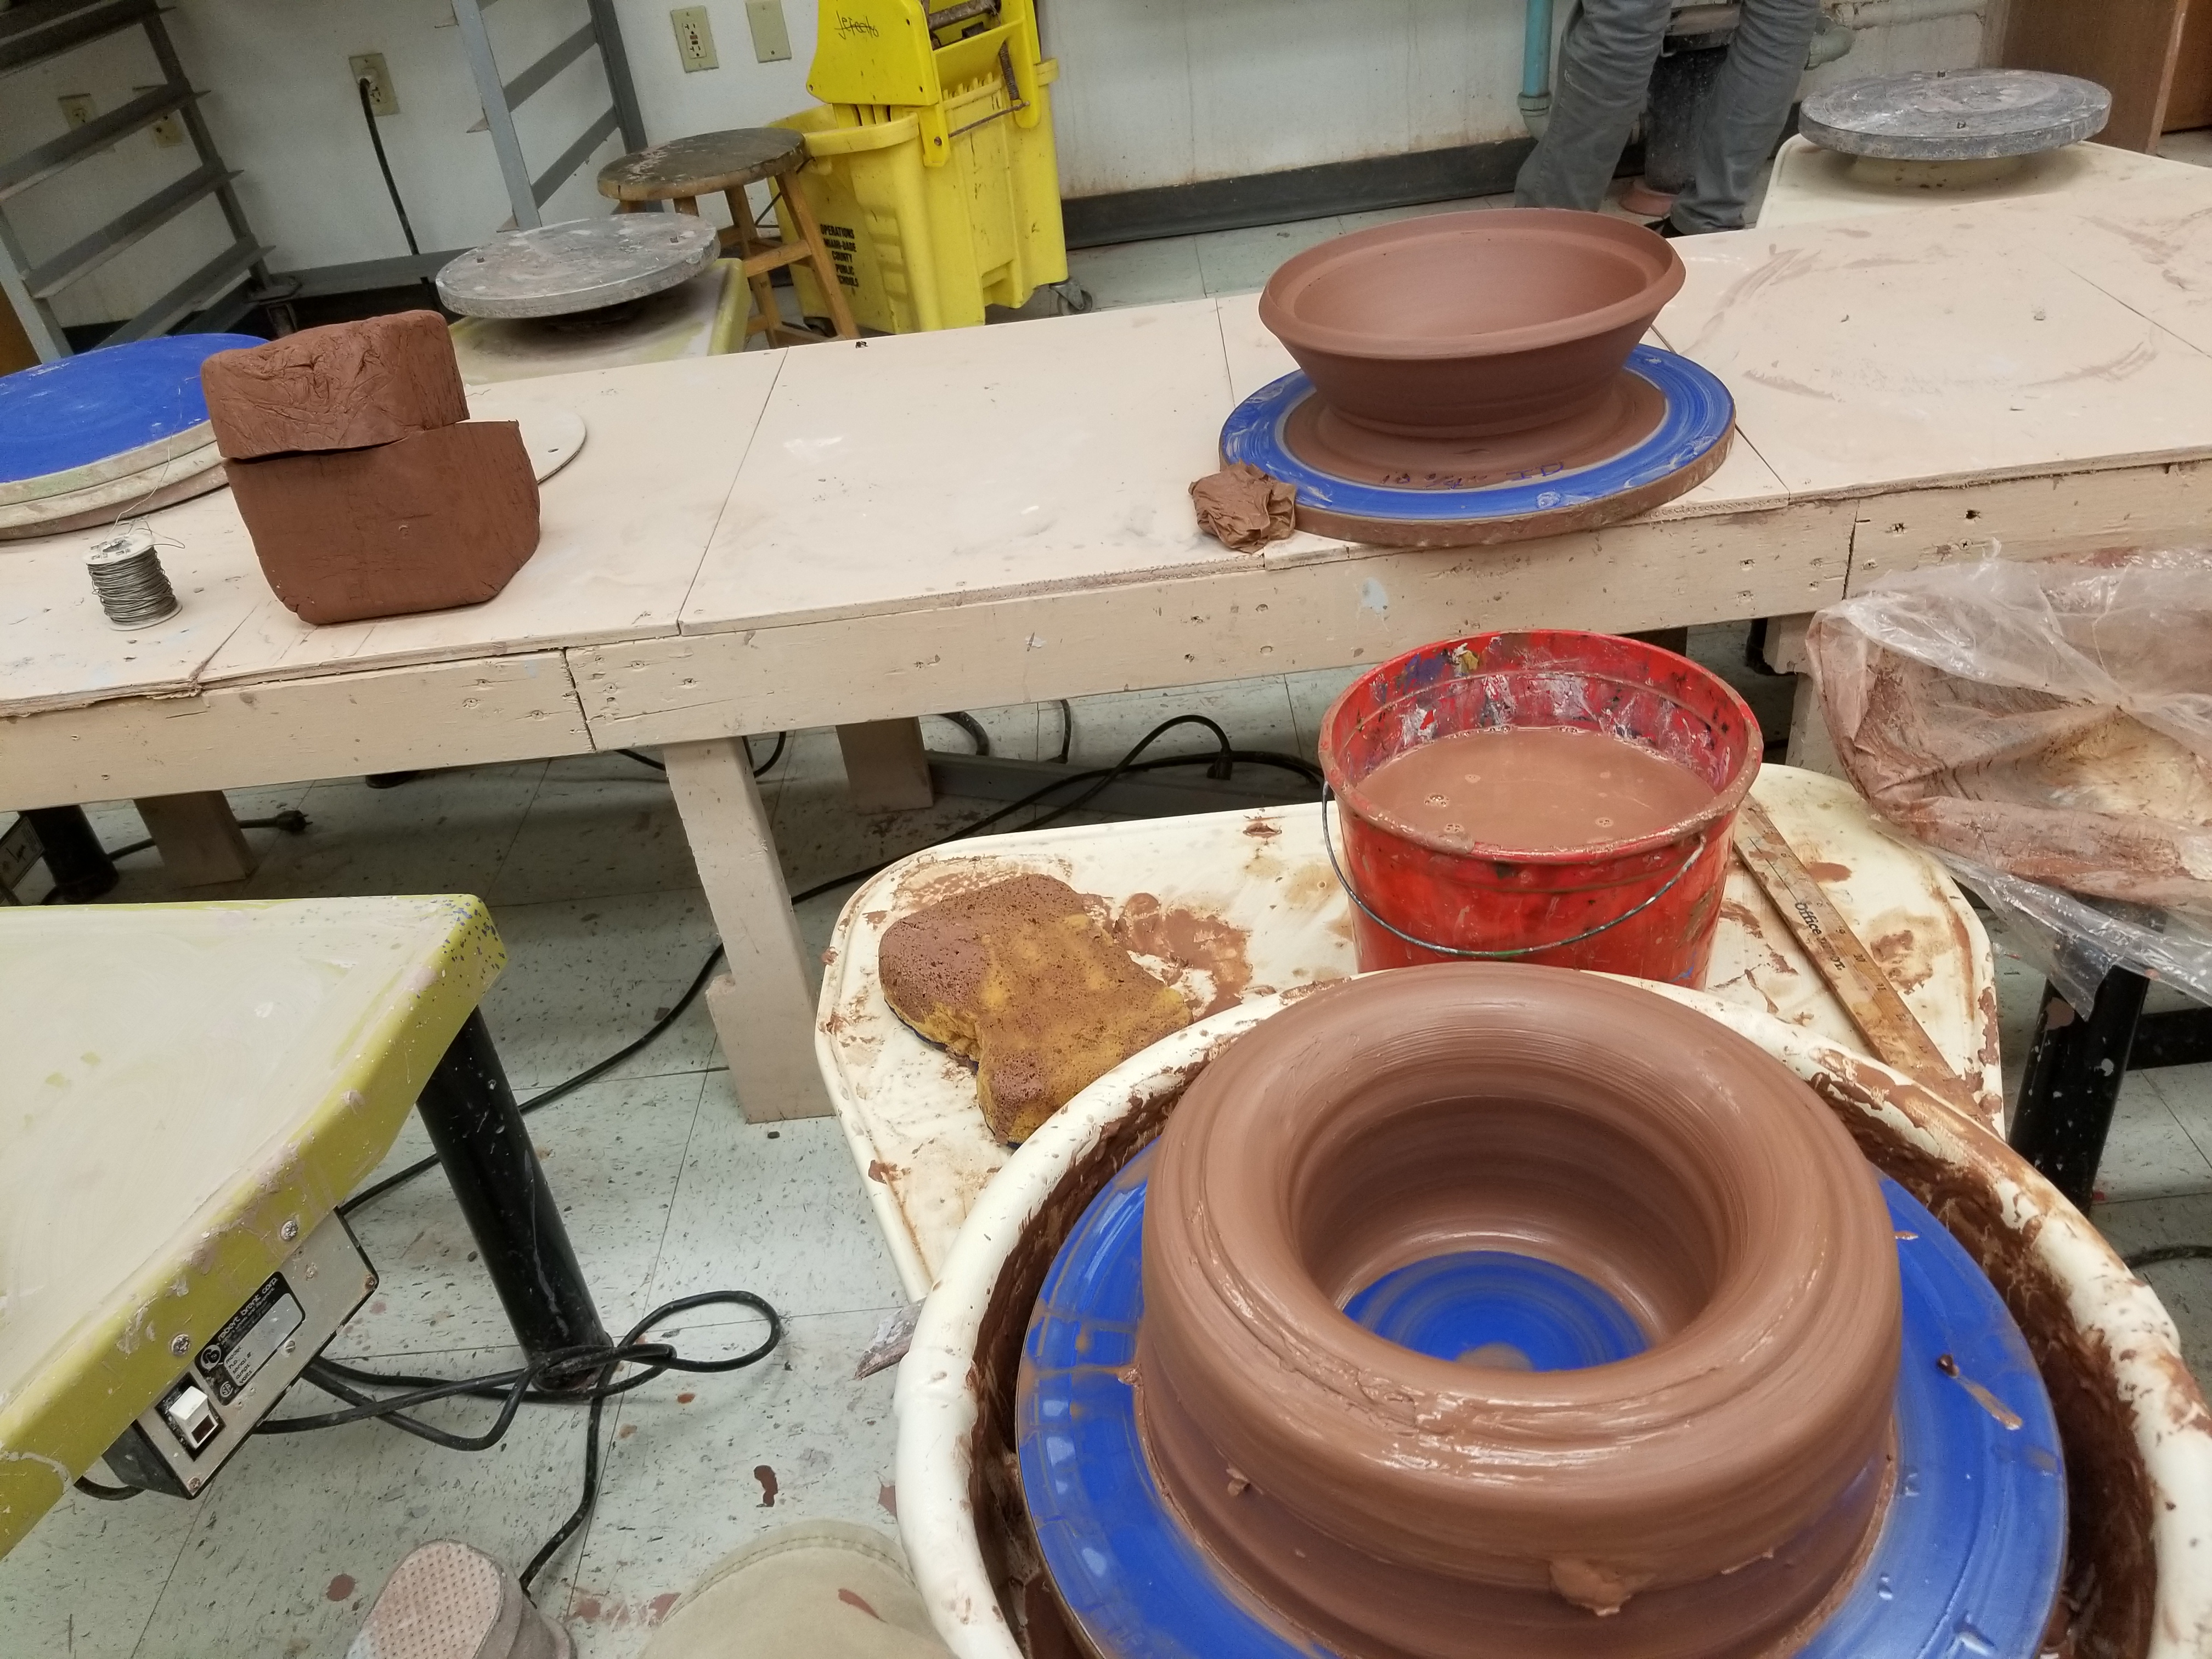
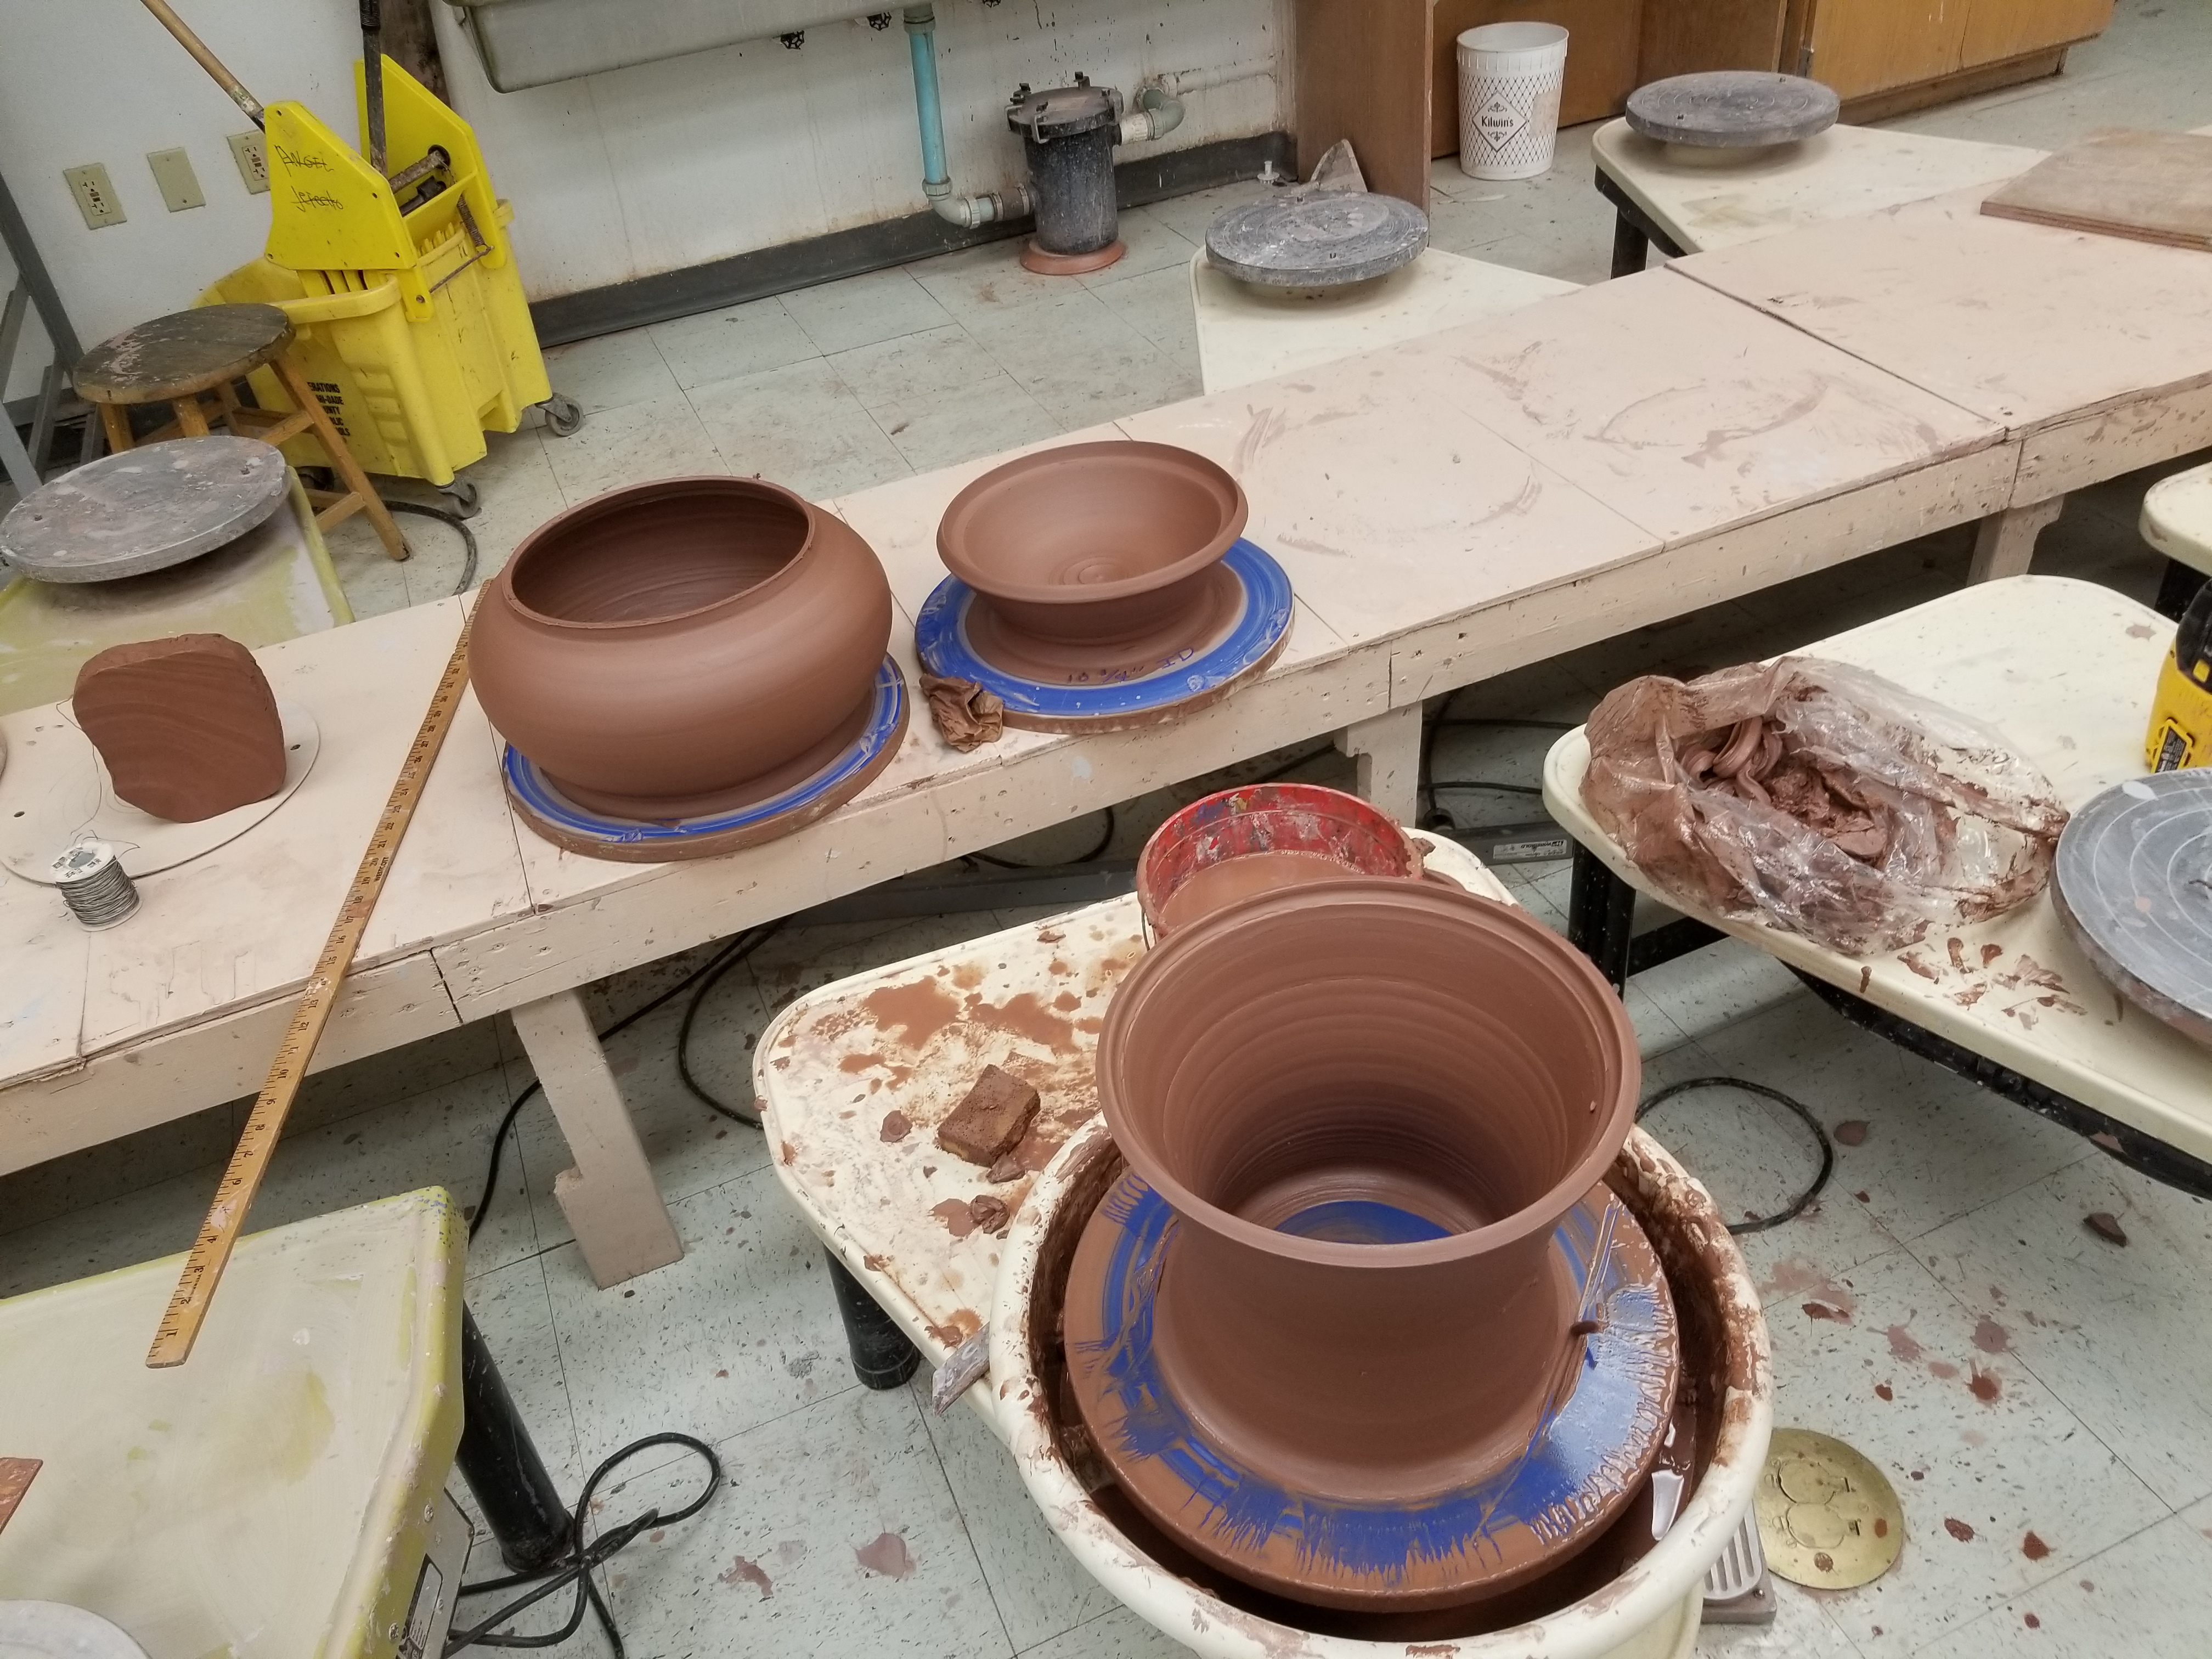
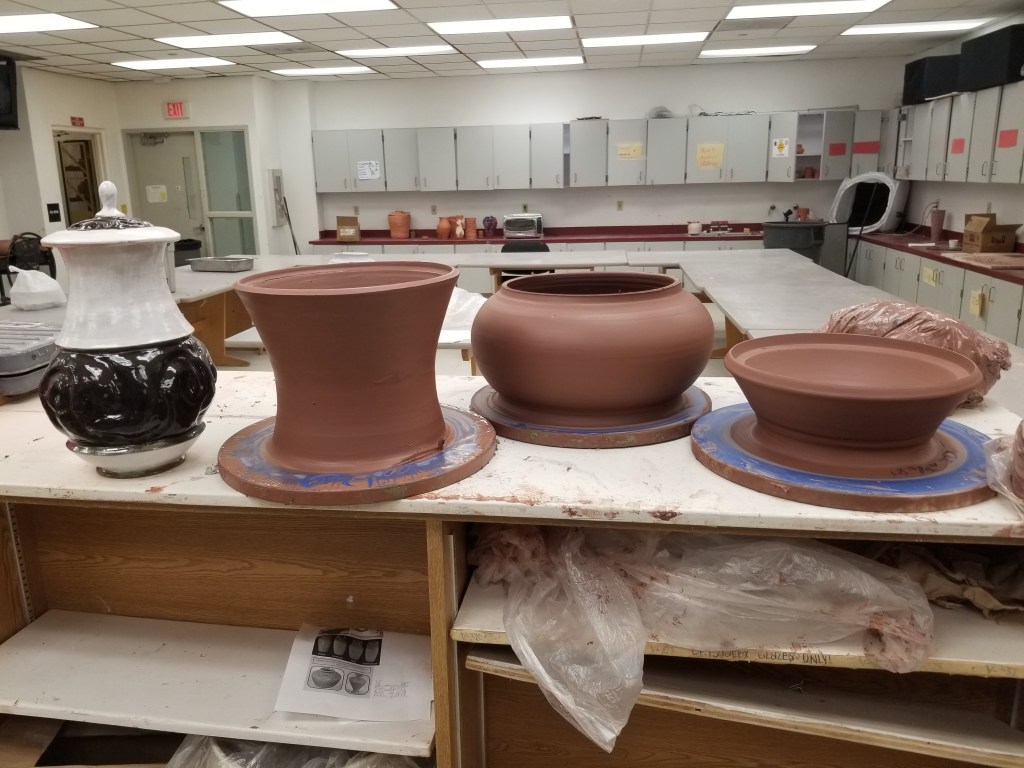
Now that I have better access to the studio, and a studio mate who can punch like an artist, I want to make large work again. The same issues persist in regards to the limitations in kiln space. The barrel kilns have a total inside height of 26 inches without any furniture inside. So any one piece cannot exceed that height when dry. It’s about 25 inches wide but some room is needed for the thermocouple. Width was not my problem, height was. My work is very vertical so that little limitation is what keeps me from making anything in large scale like college. So I decided I would make a large planter. I would explore the overall width and take up as much space as I could to play with thermocouple placement. It’s the same kilns that I used to fire the piggy banks. See the process page in the menu for the piggy bank project.
The two kilns are not new by any means and need some TLC, but they get the job done. I do what I can without paying too much out of pocket to keep those kilns in good enough health to keep the studio running. So I decided I would take up an entire kiln to fire one piece and began building a large planter for my lemon tree. It wasn’t the first planter I made.
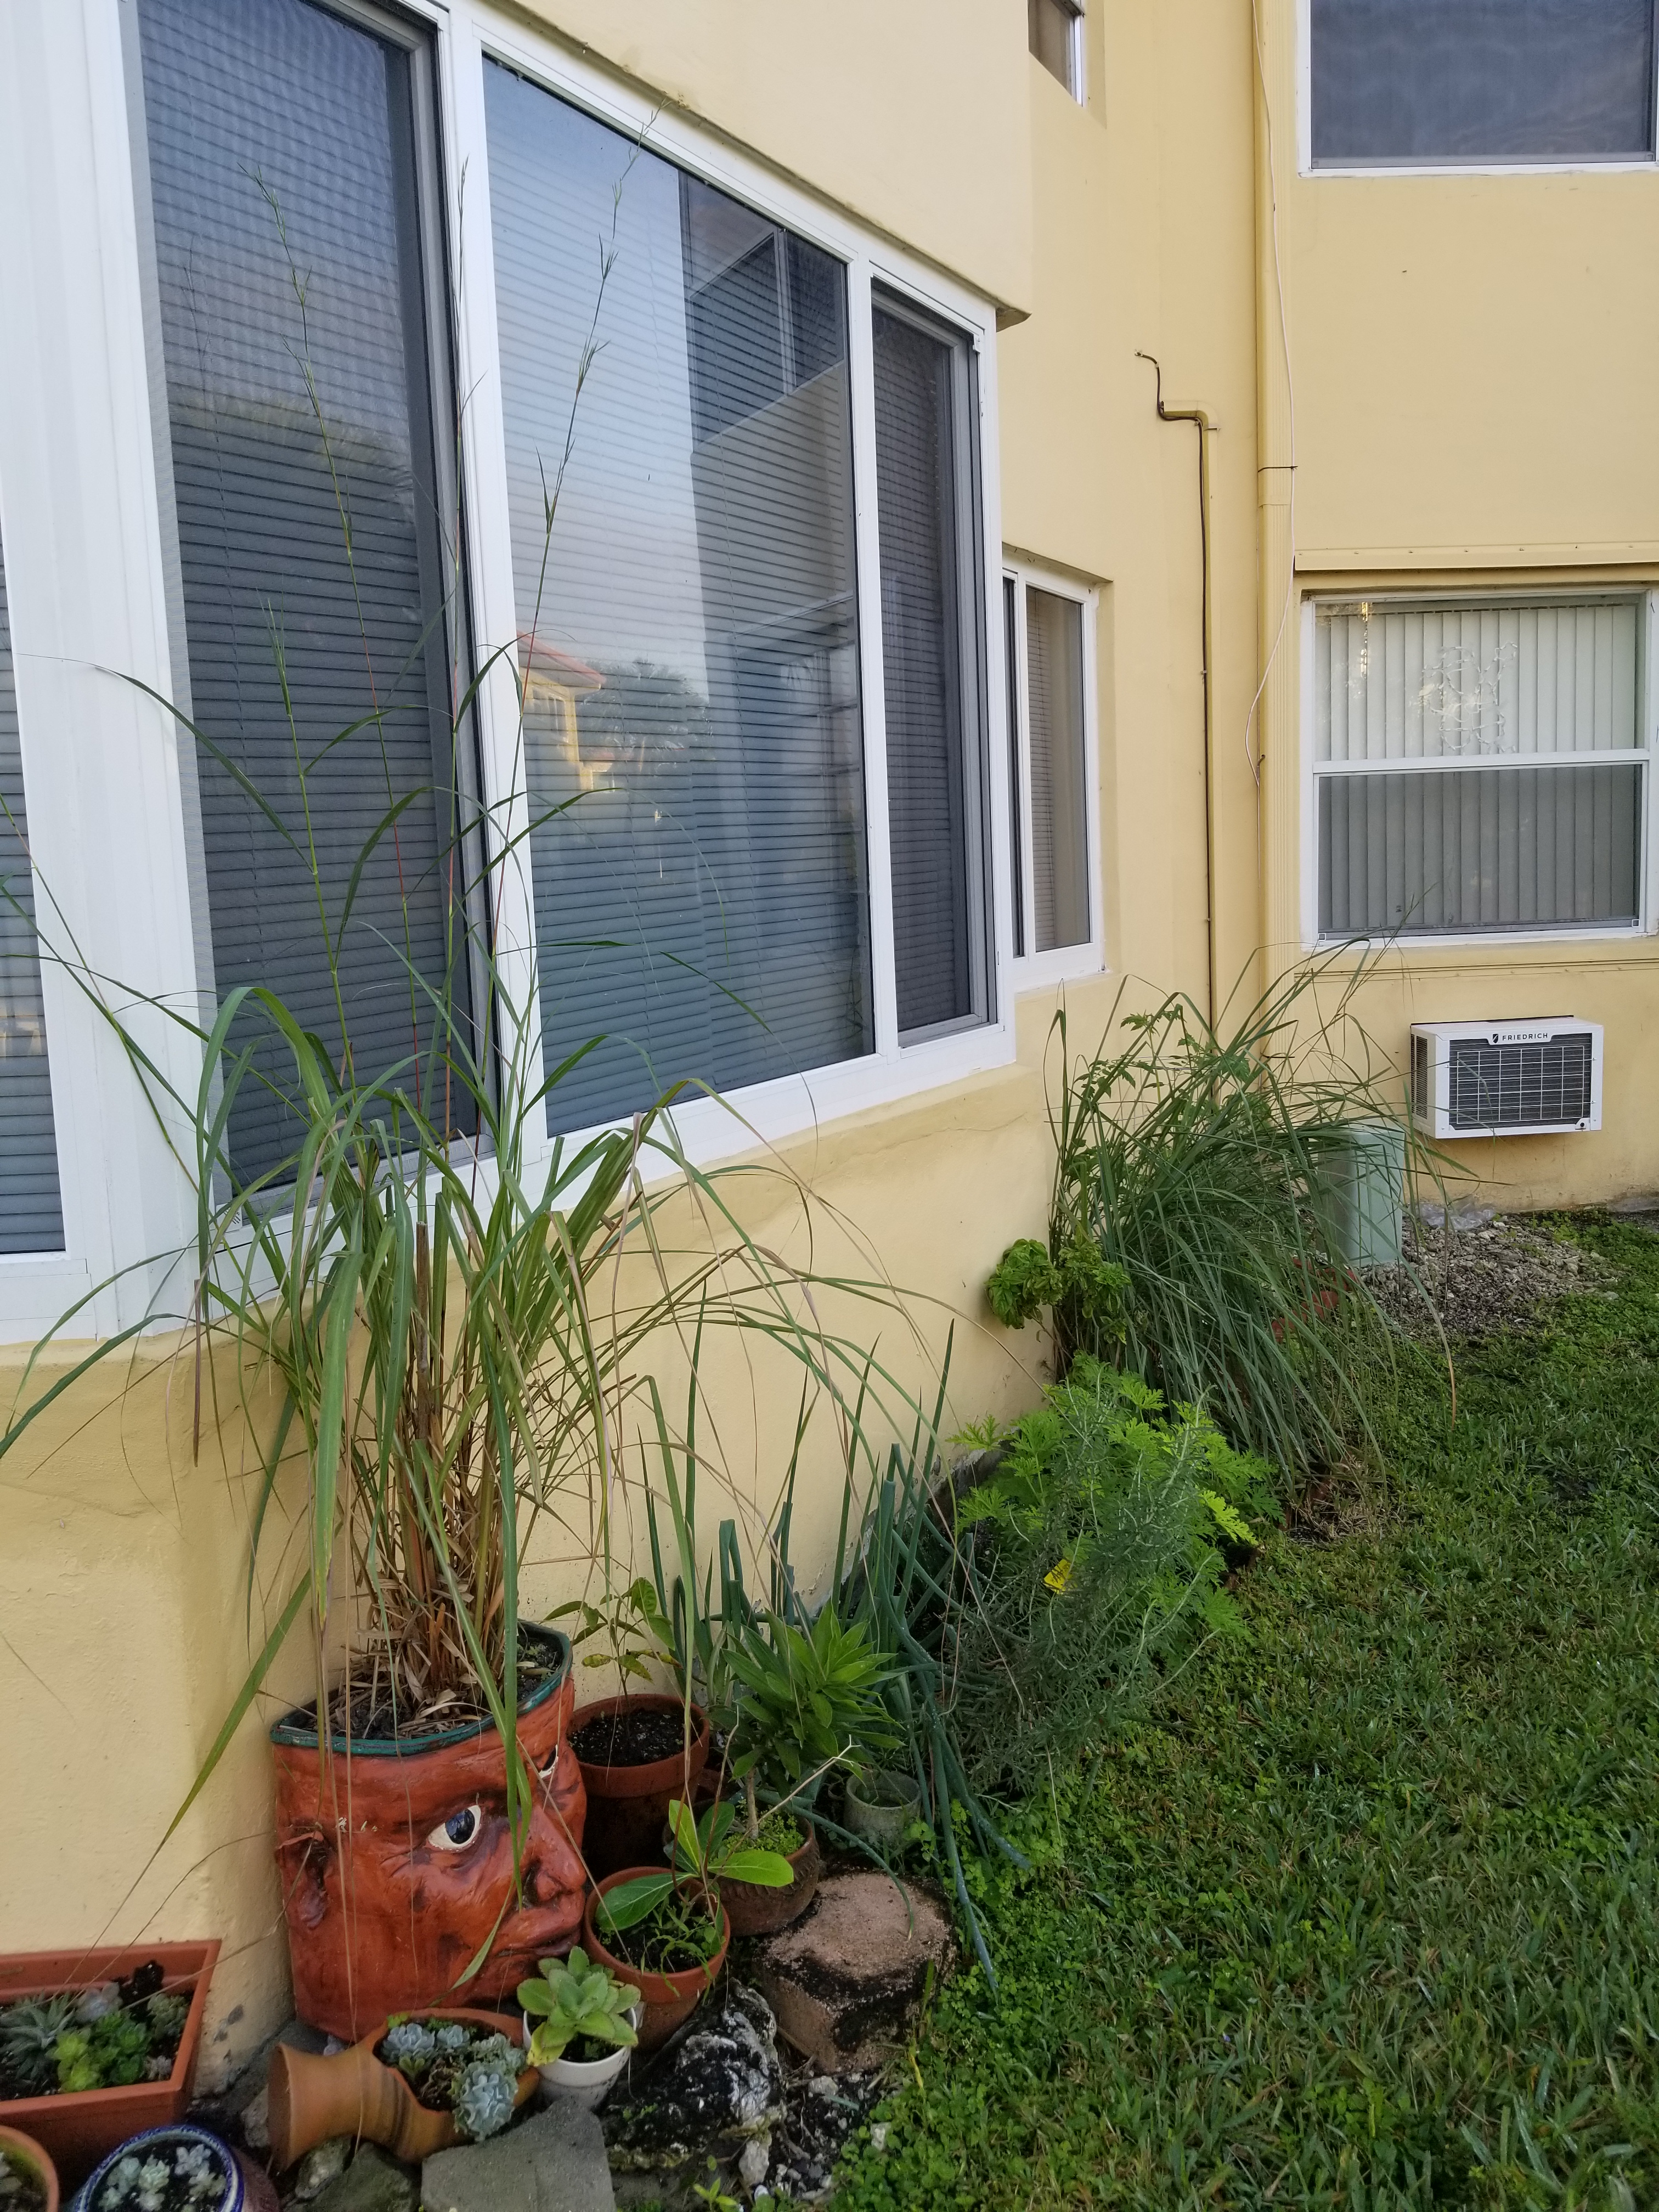
I made a smaller one that I use for my lemongrass plant among other clay and plastic pots and planters. This new one was going to be bigger so that the lemon tree can grow strong.
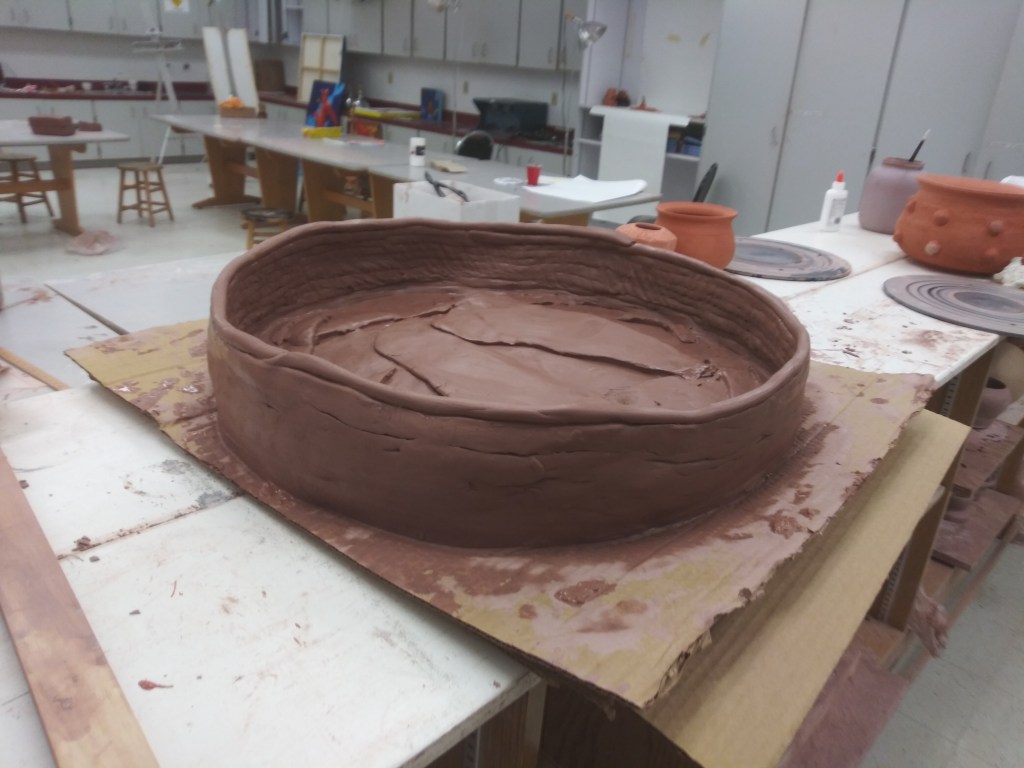
it started as slabs for the base, and coils to start the body. Little by little I rolled out coils and built the outer walls bigger and higher until I had my cylinder. I also made a central cylinder to hold the tap root and serve as a reservoir for water.

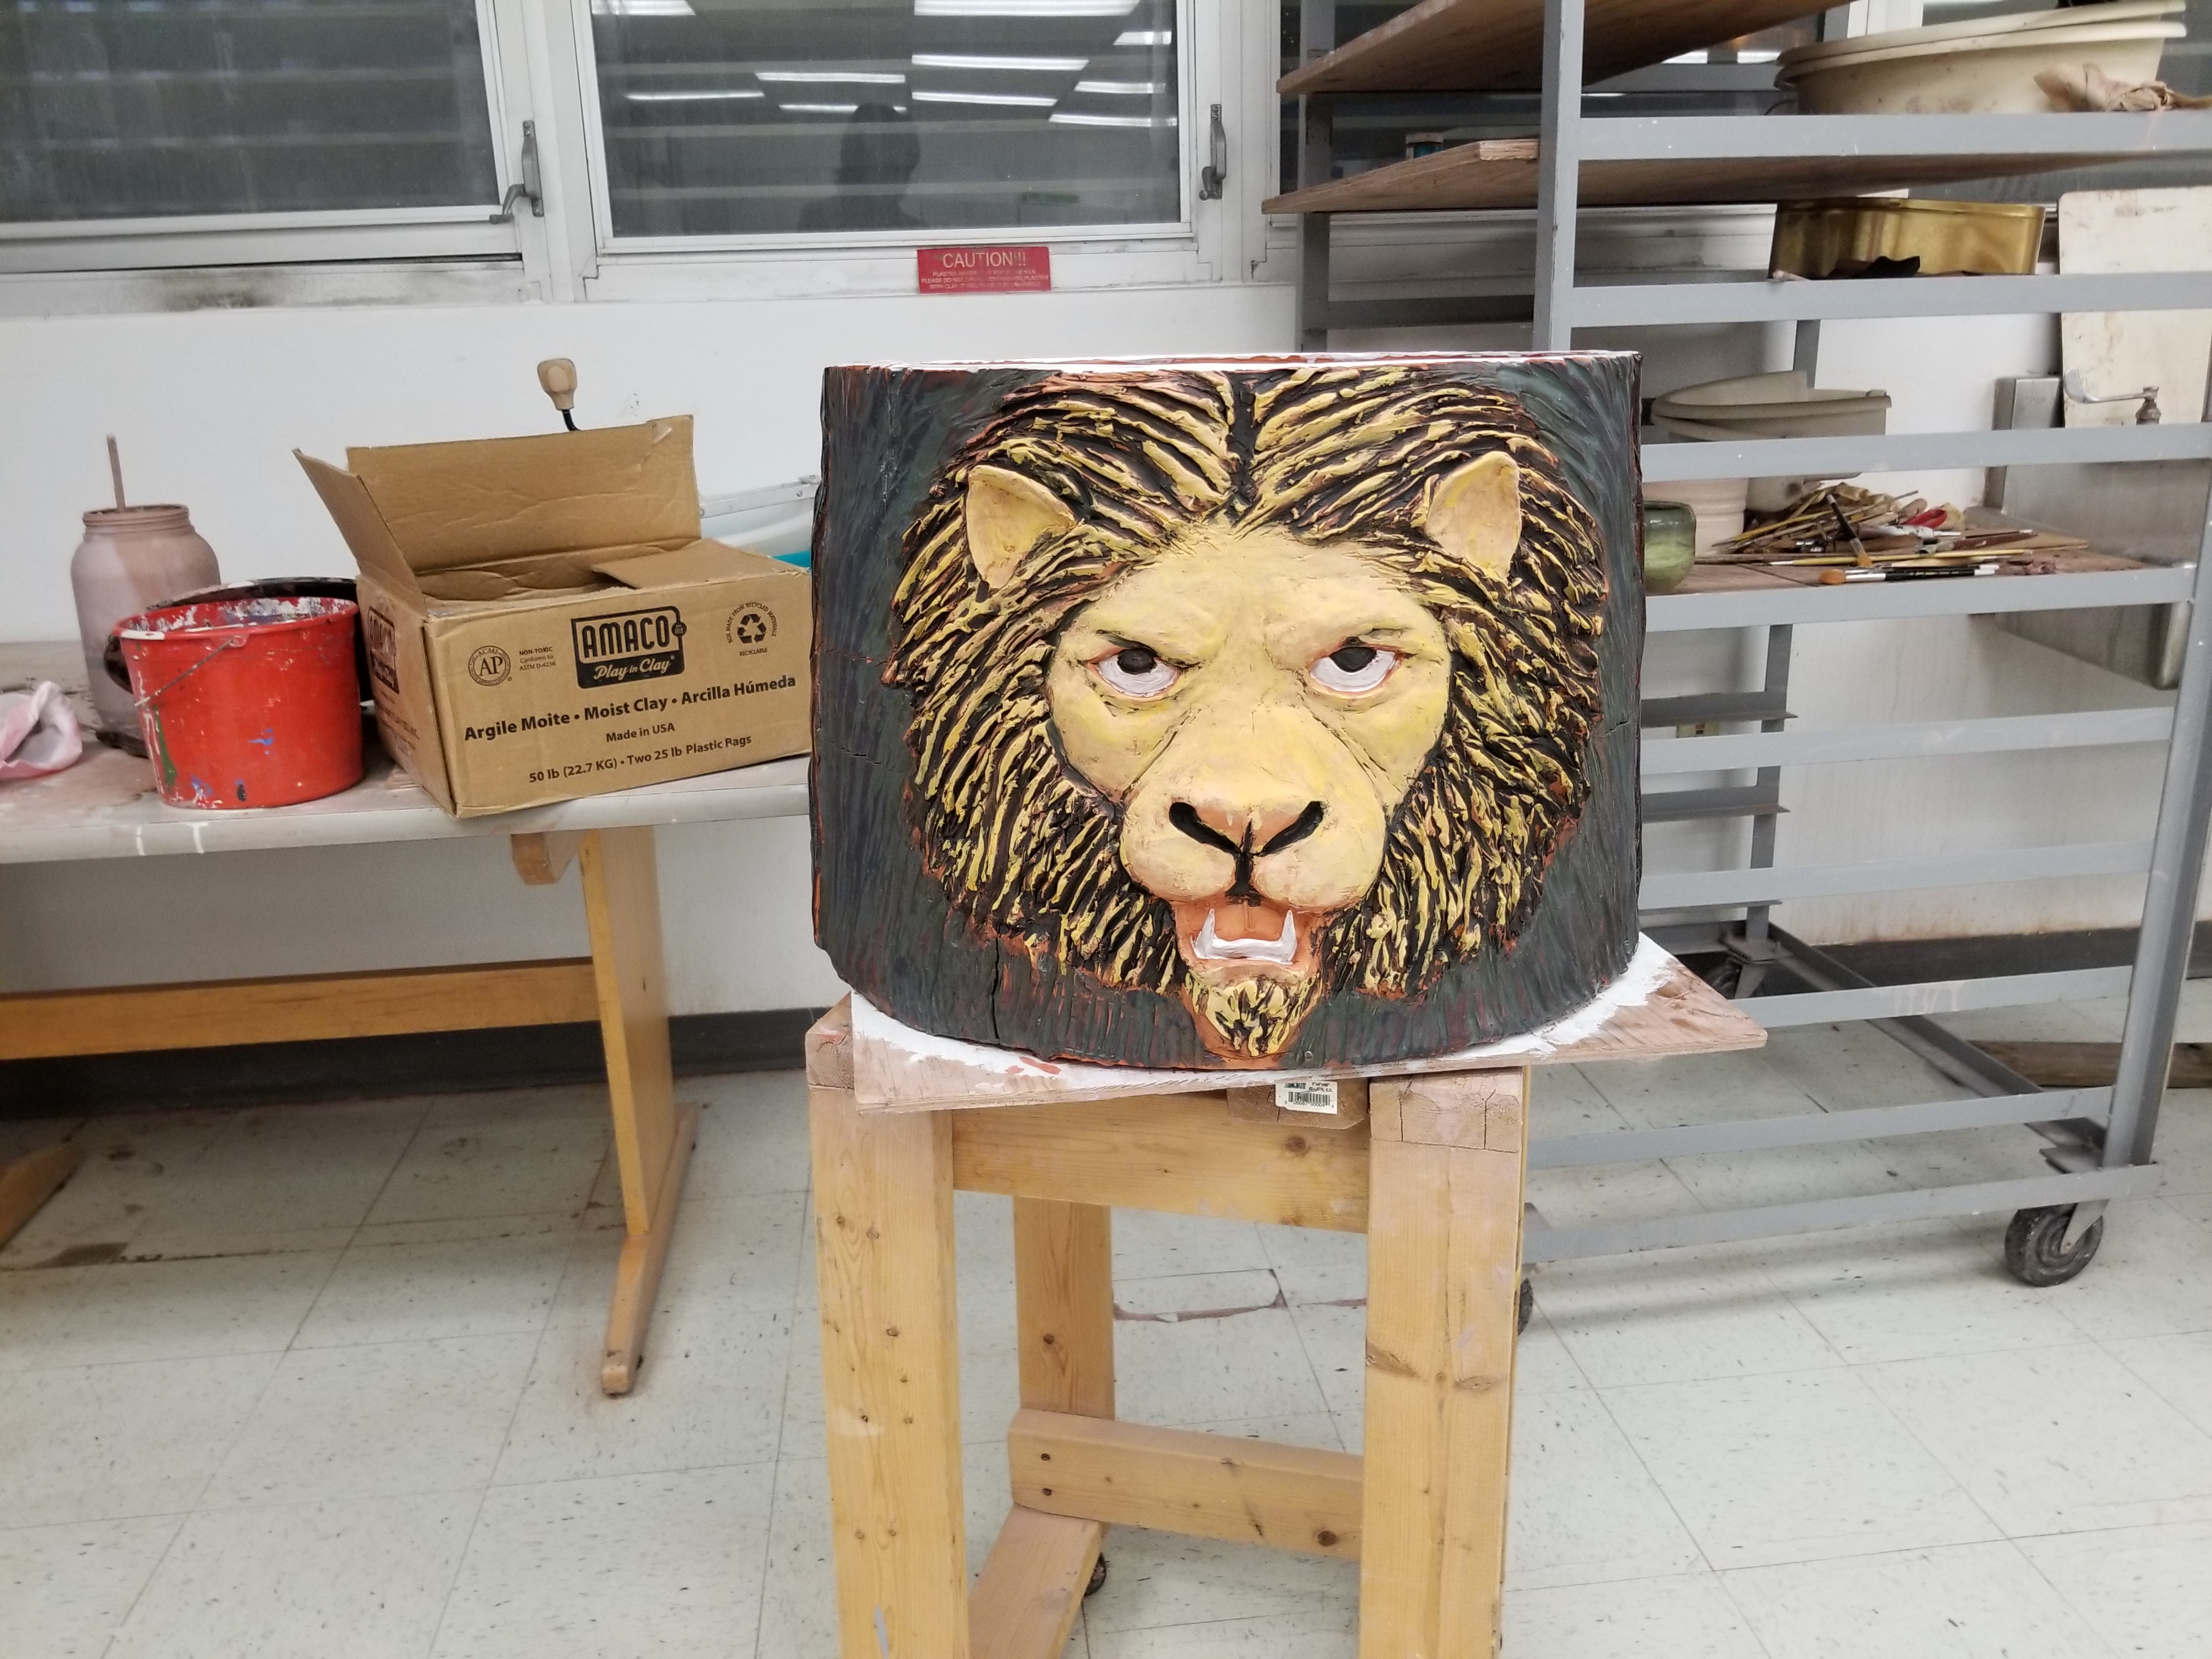
Building the piece was fun, carving it was even more fun. The decoration was an embodiment of the astrology Leo and the chinese year of the dragon. The piece will be named August 18, 1988. It’s a perfect home for my prized lemon tree.

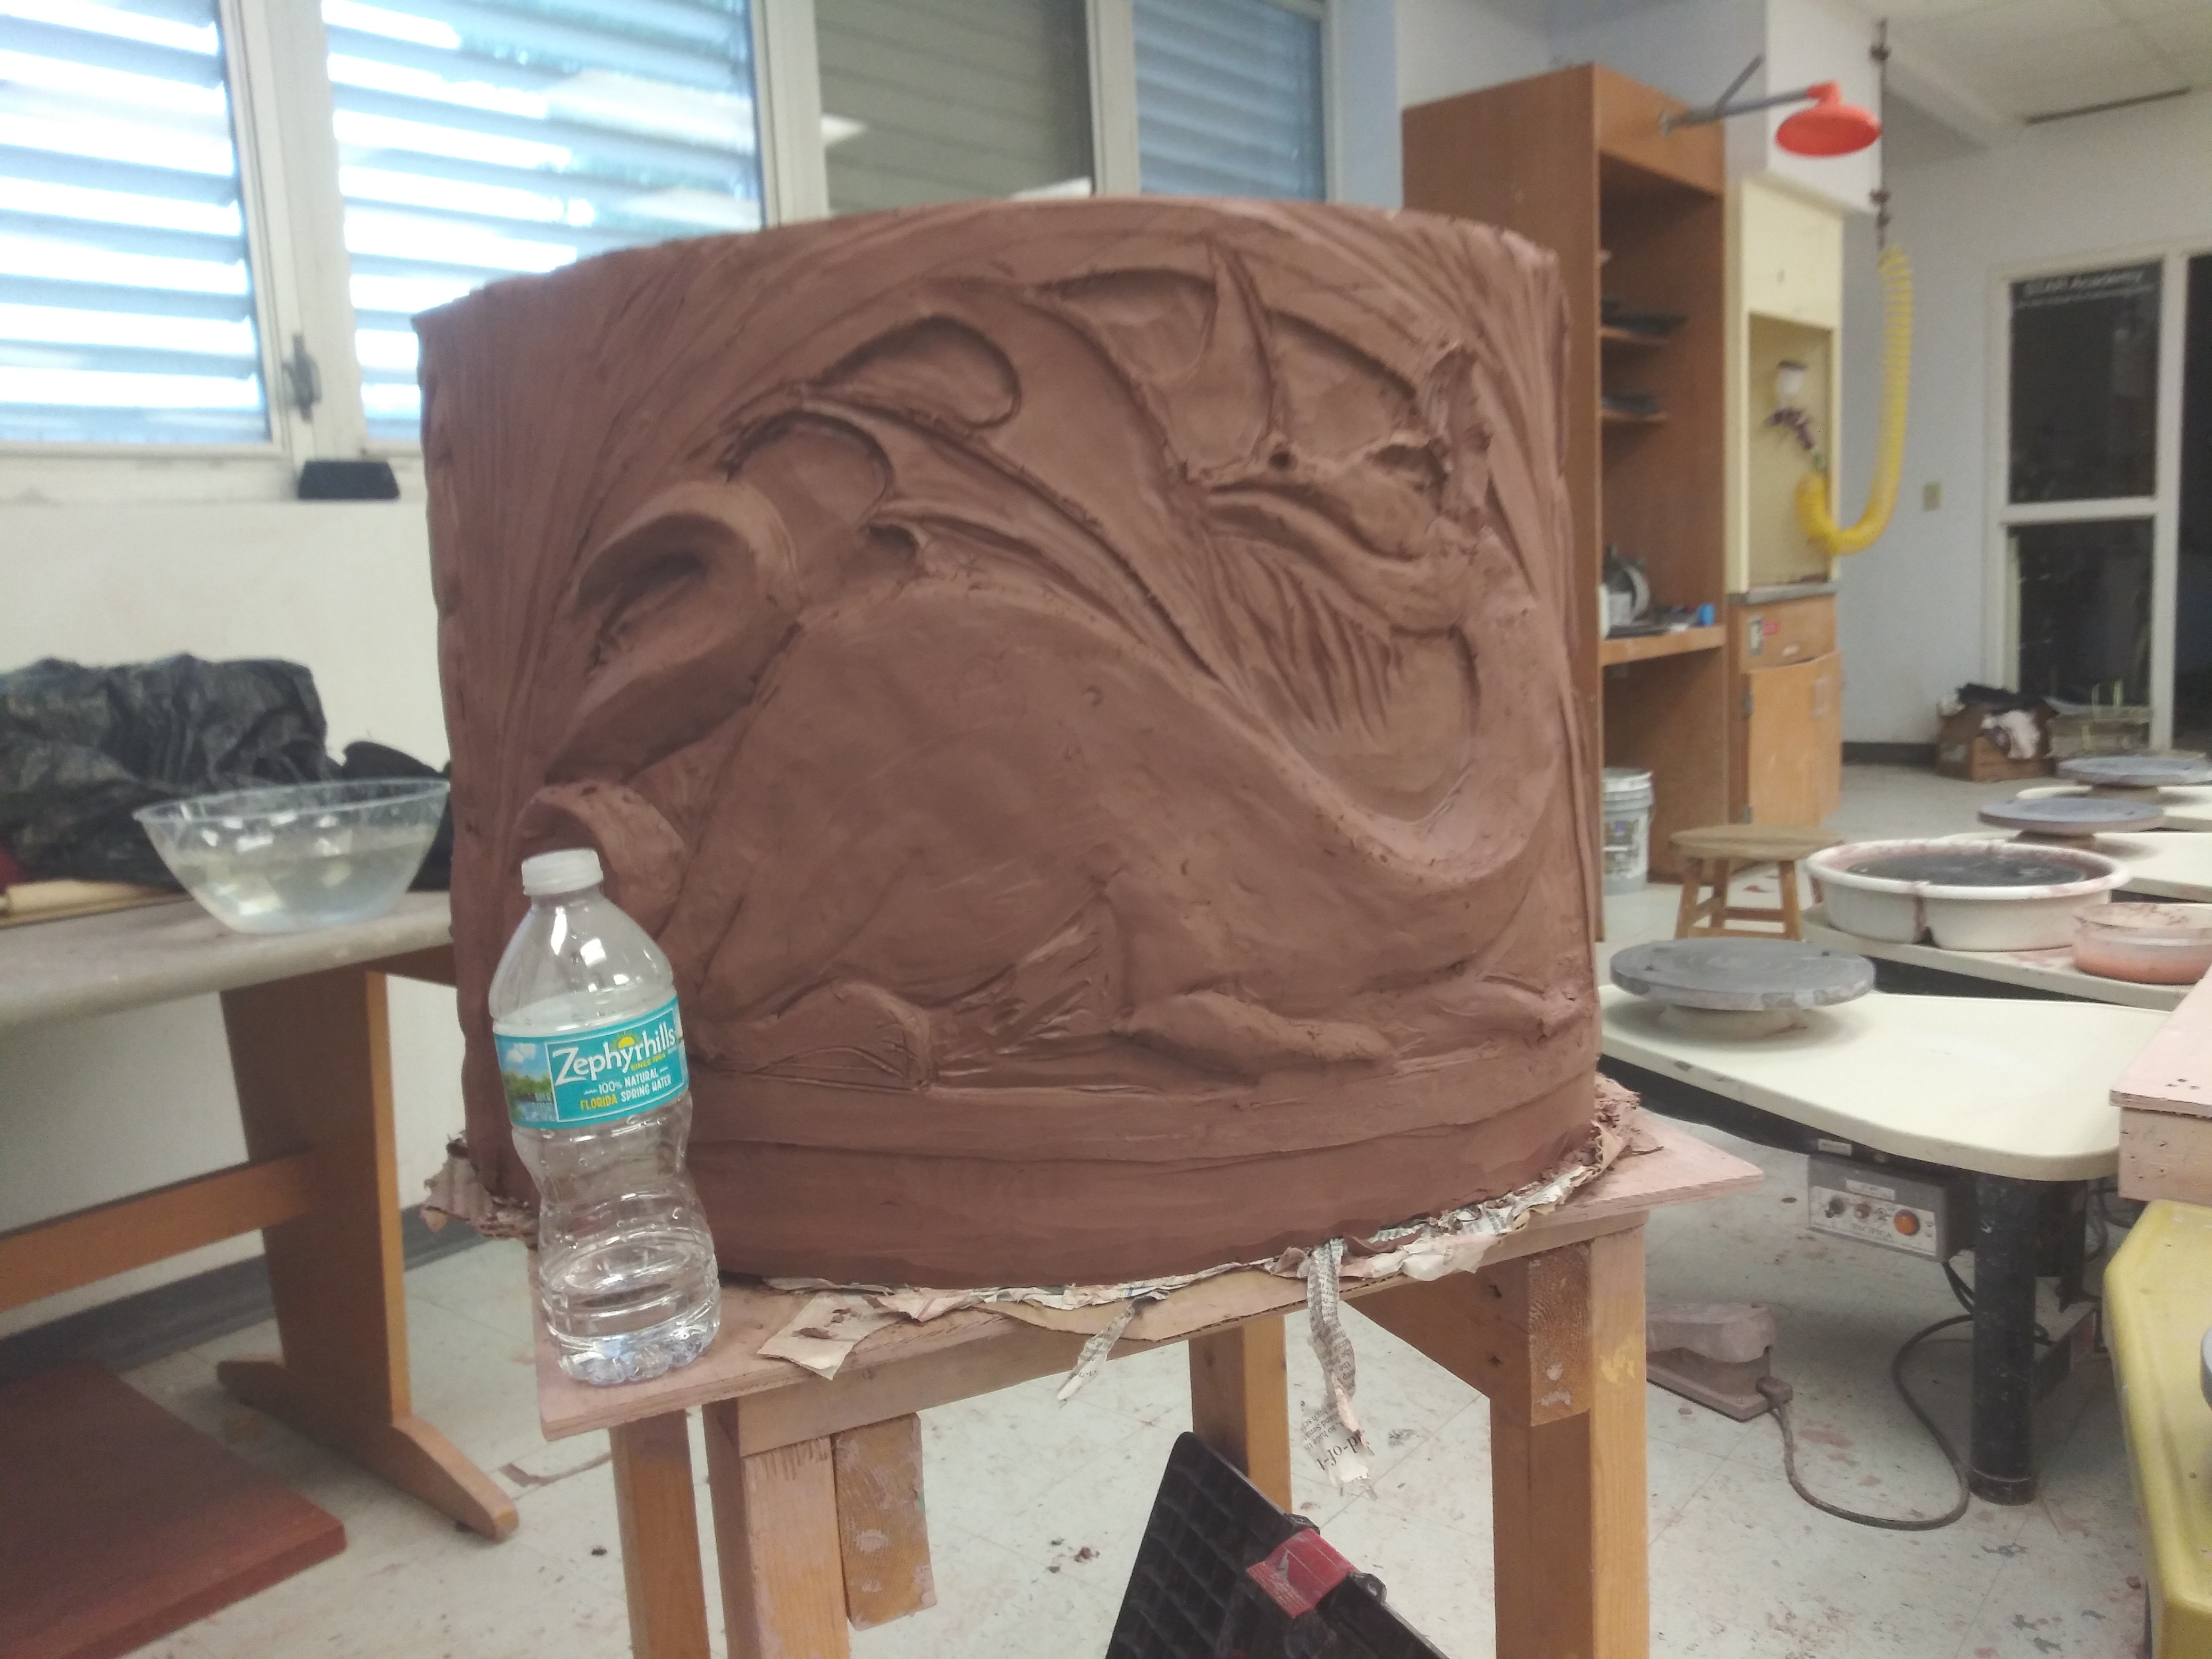

it was wide, very wide. The piece was just short of maxing out the width of the kiln. But it fit just right.

Thankfully it survived the bisque firing in one piece. Glazing was the problem now, the bane of my processes. The last couple of years helped to get me comfortable with lowfire glazing. Some ugly things were produced, pieces ruined with poor glaze jobs, and overworked glaze layers all contributed to the learning process. So I glazed this planter using commercially available glazes with confidence in the way that they fired so that all the time and energy I spent on this project would not go to waste. I’m pretty happy with the way it all turned out.
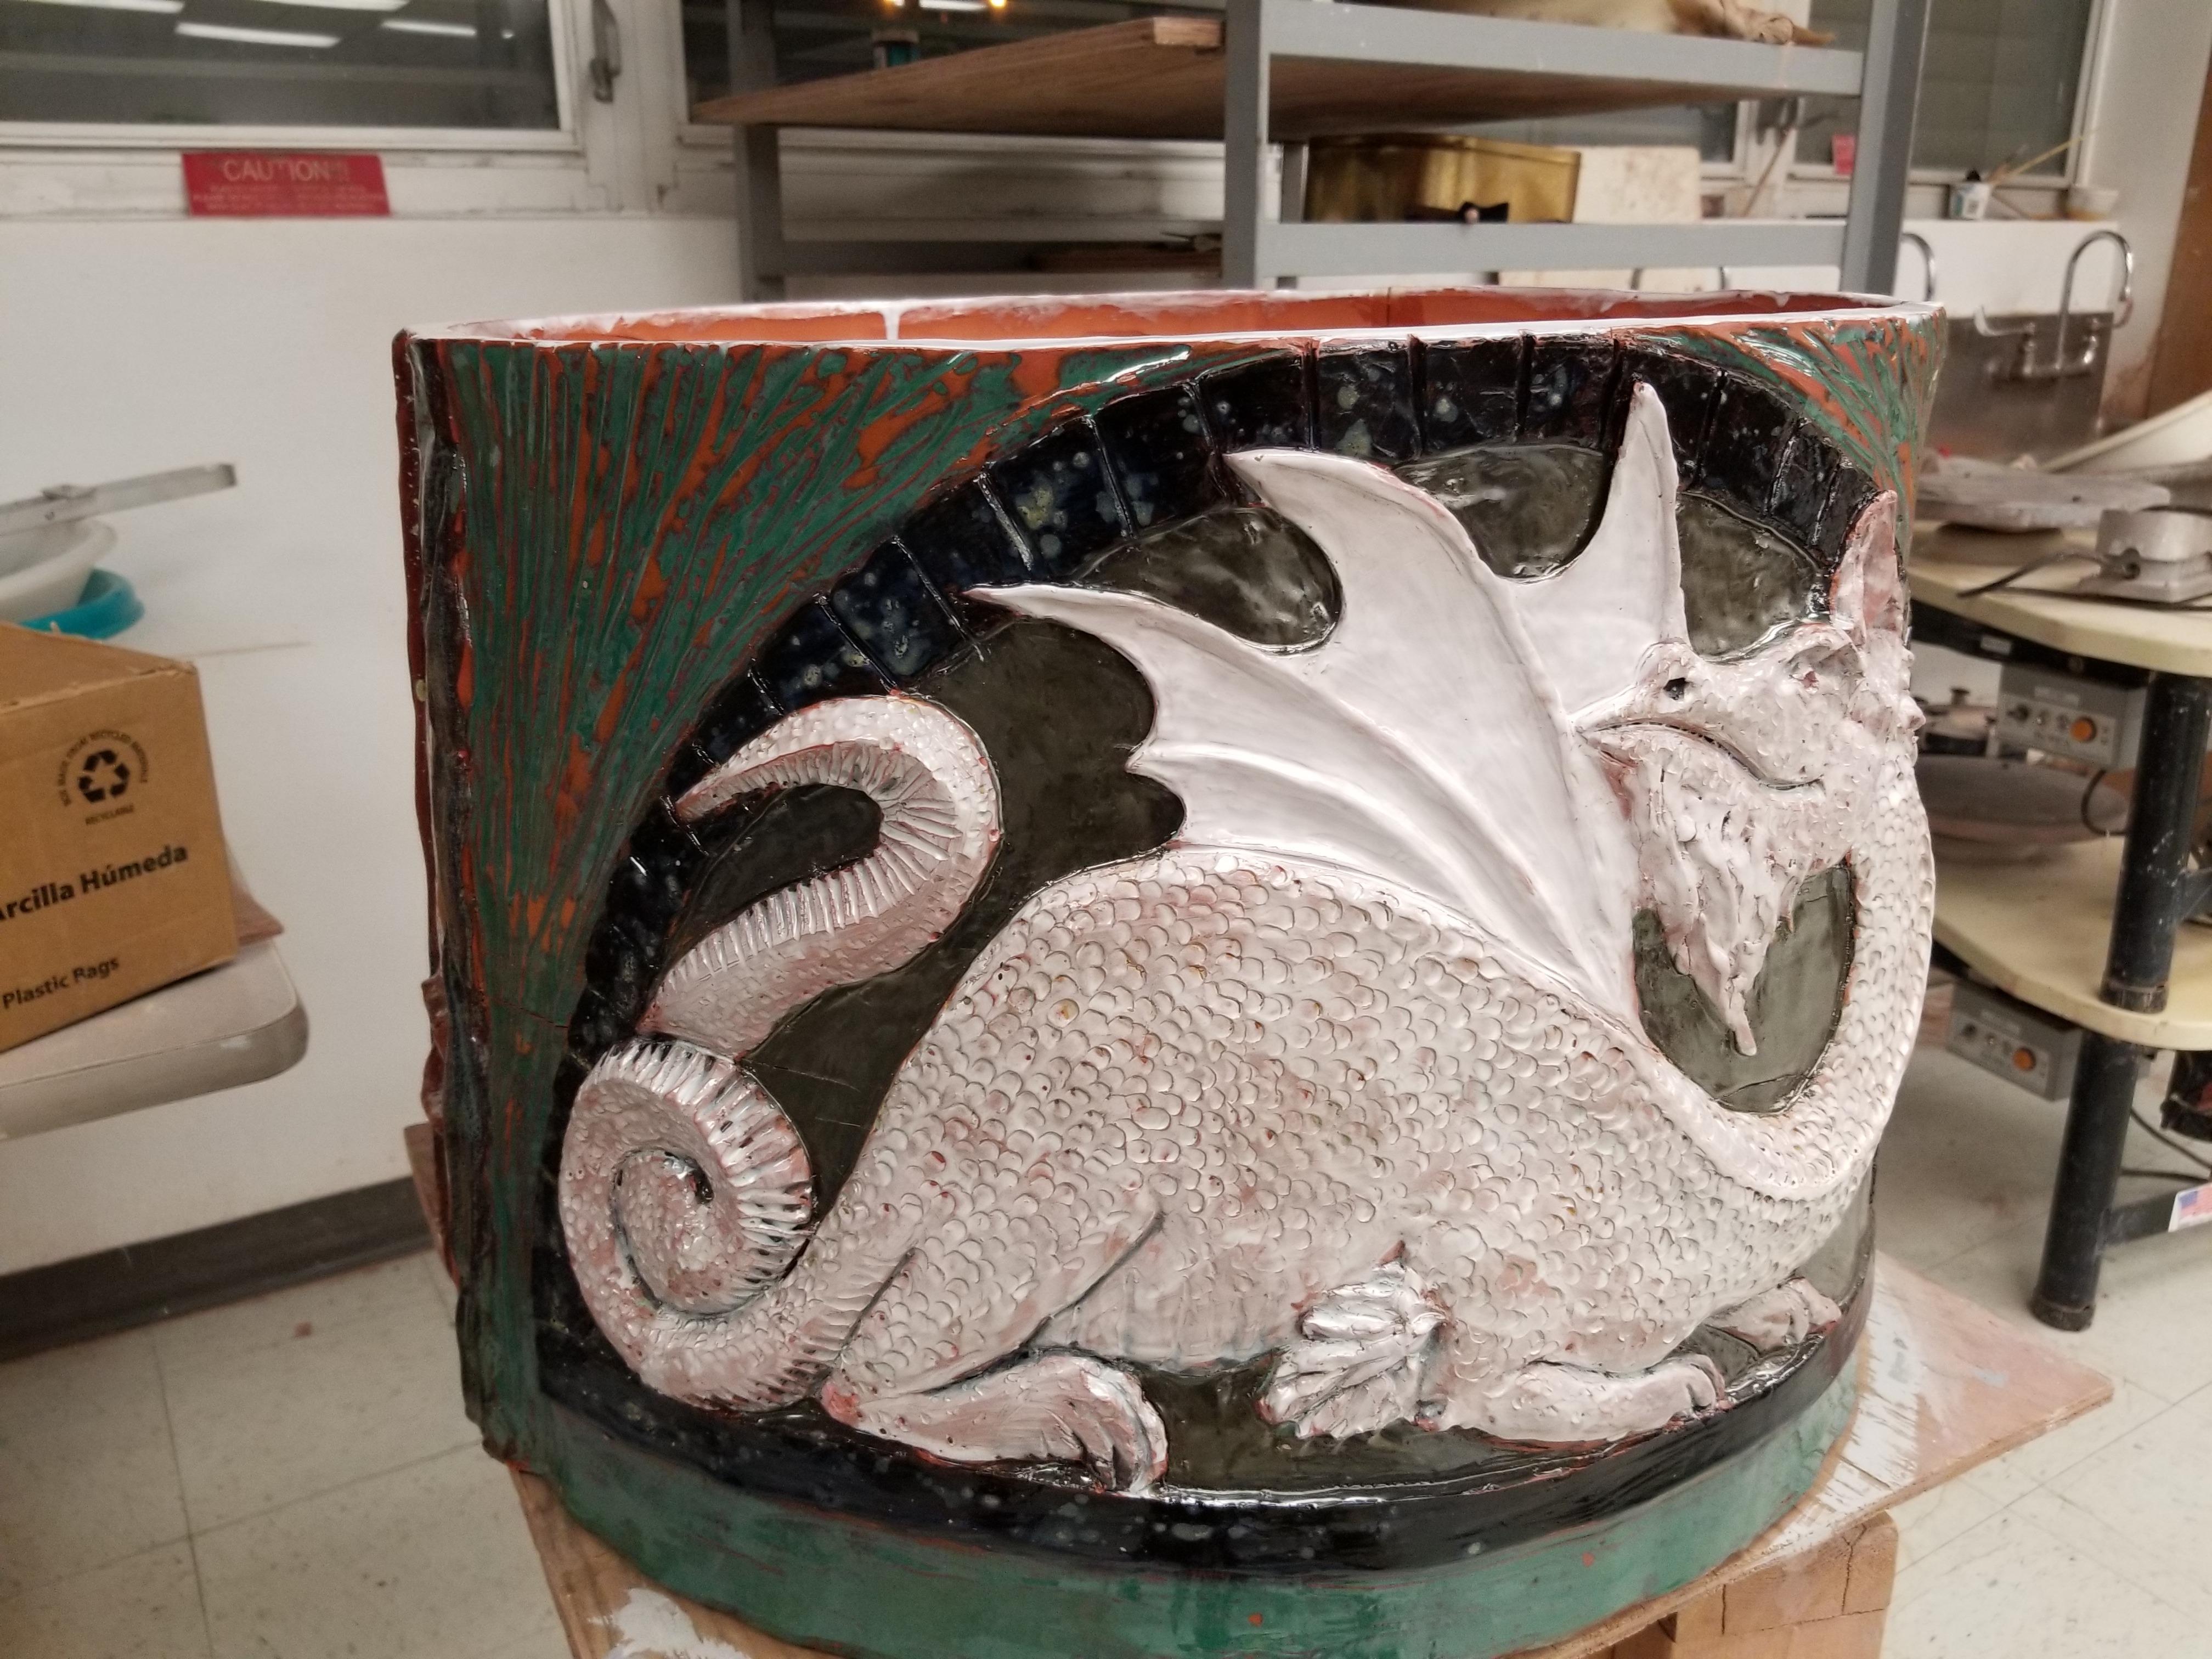
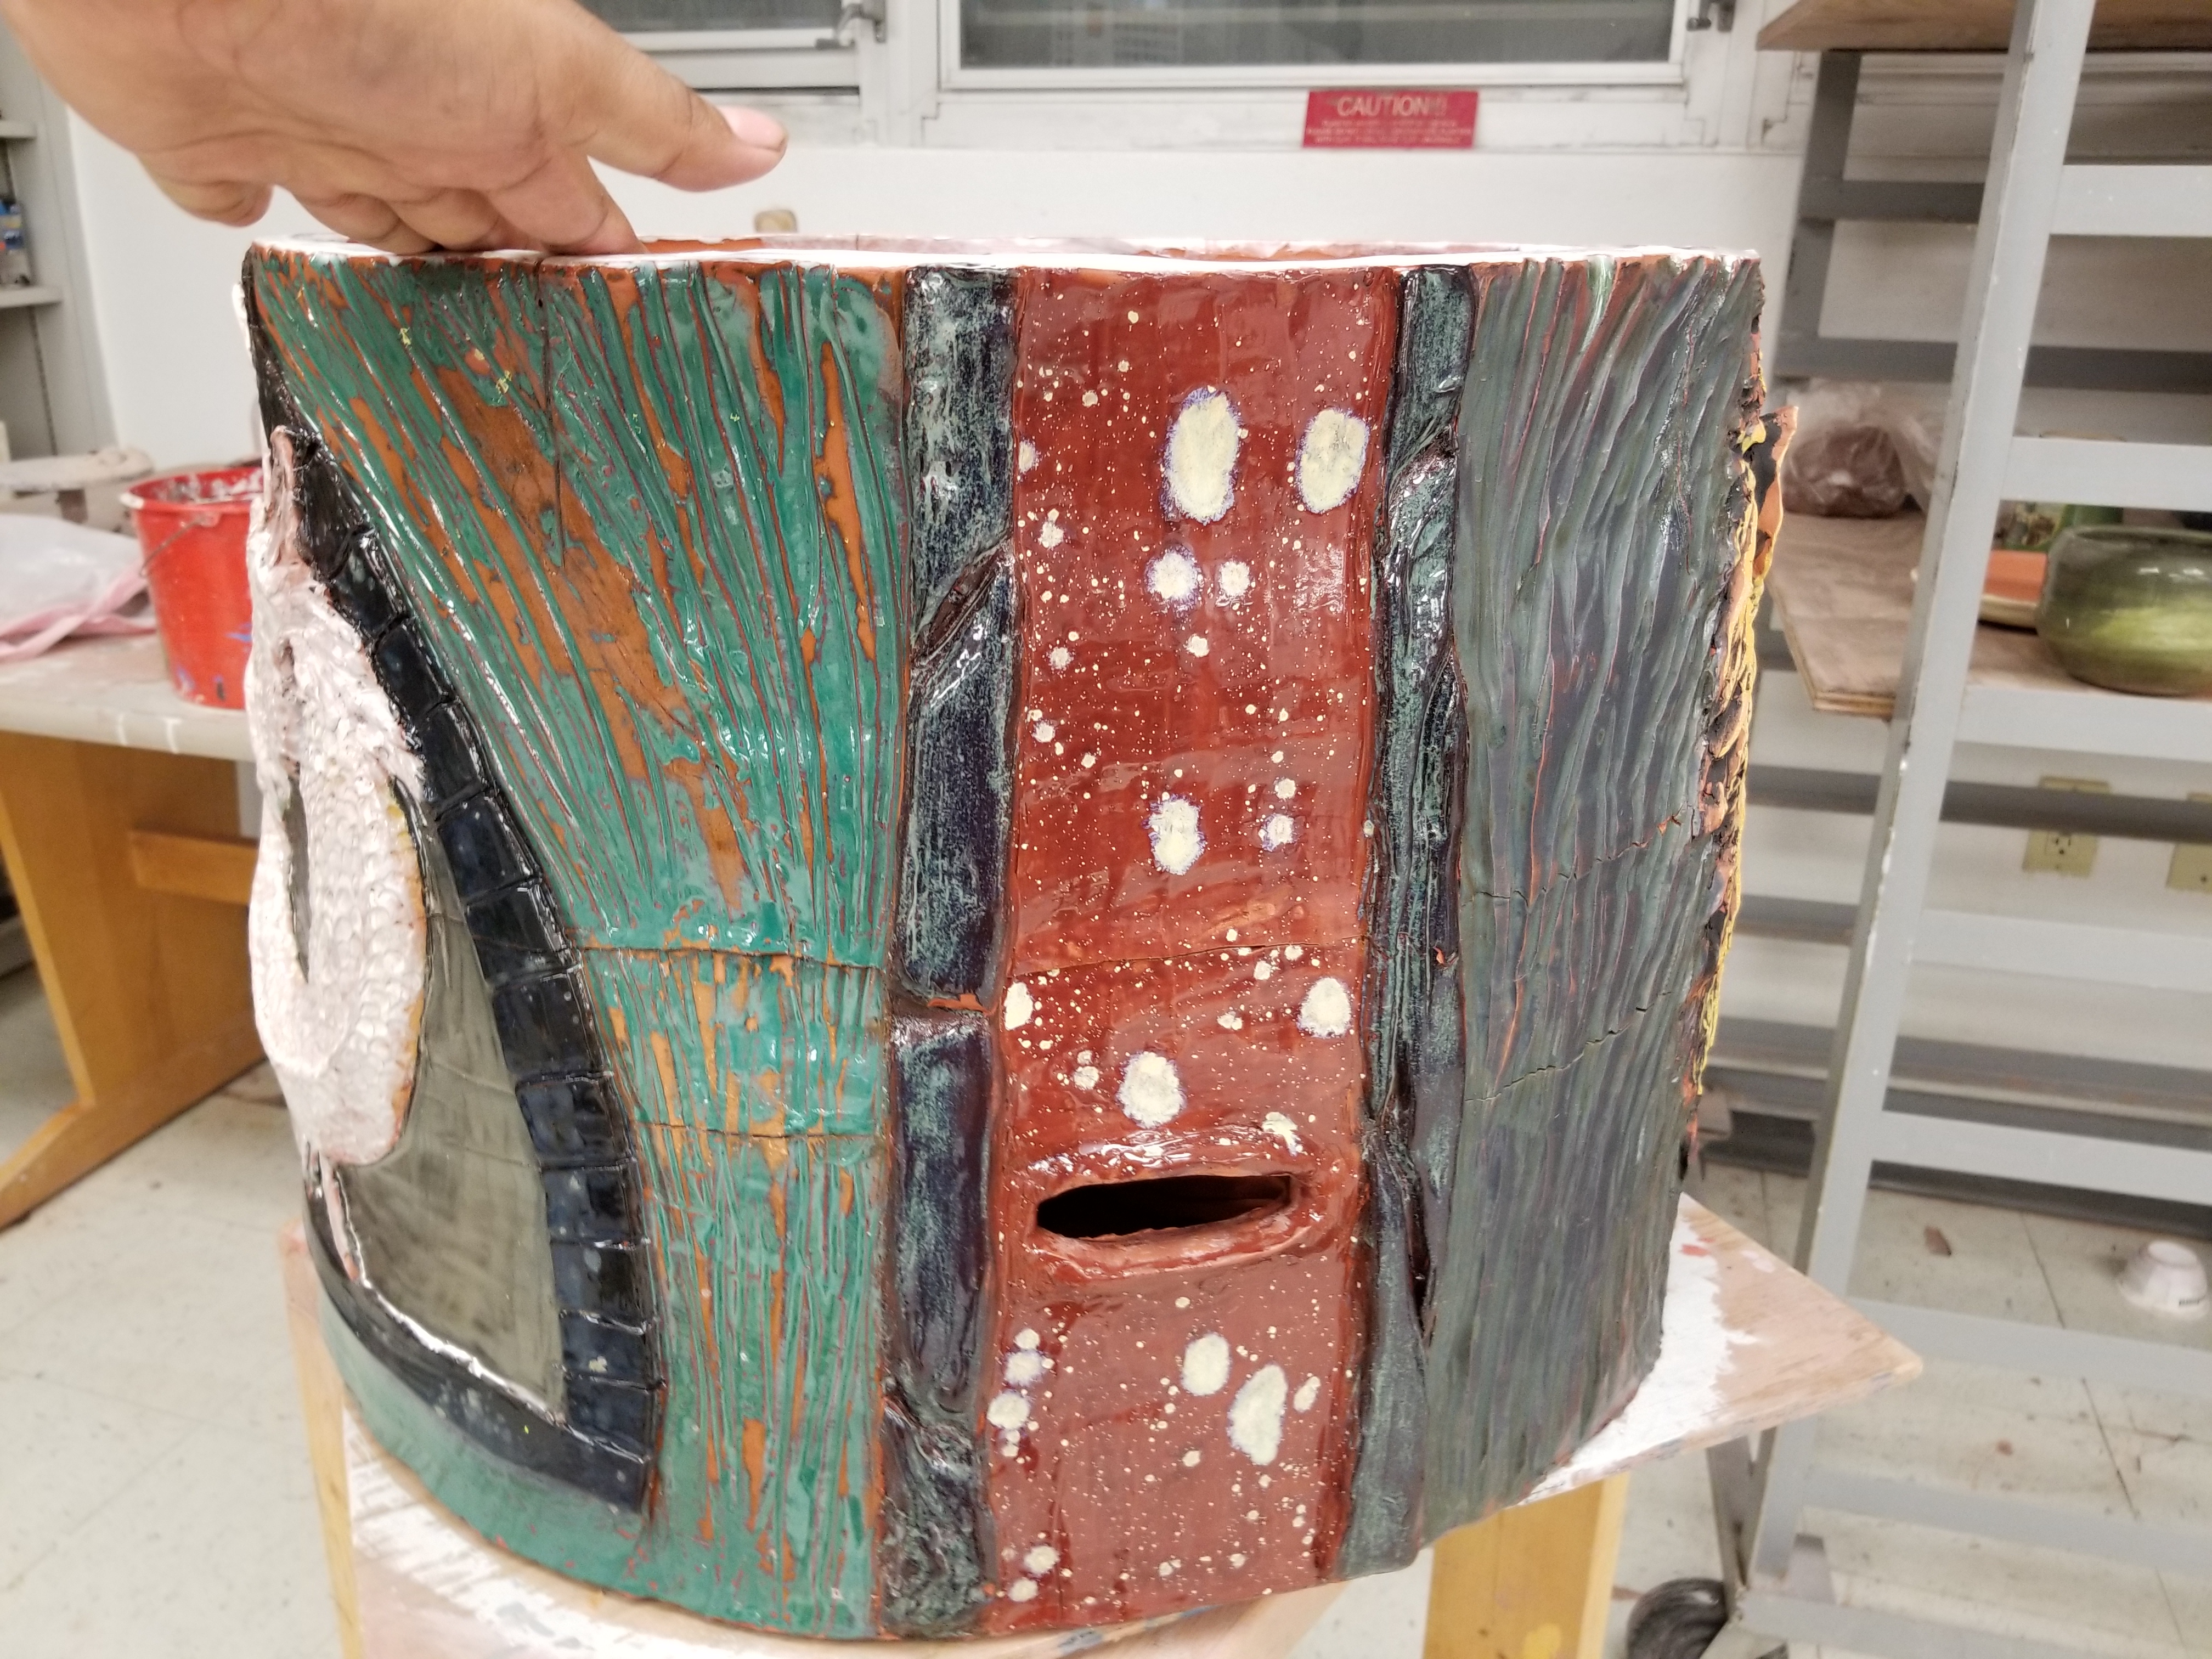
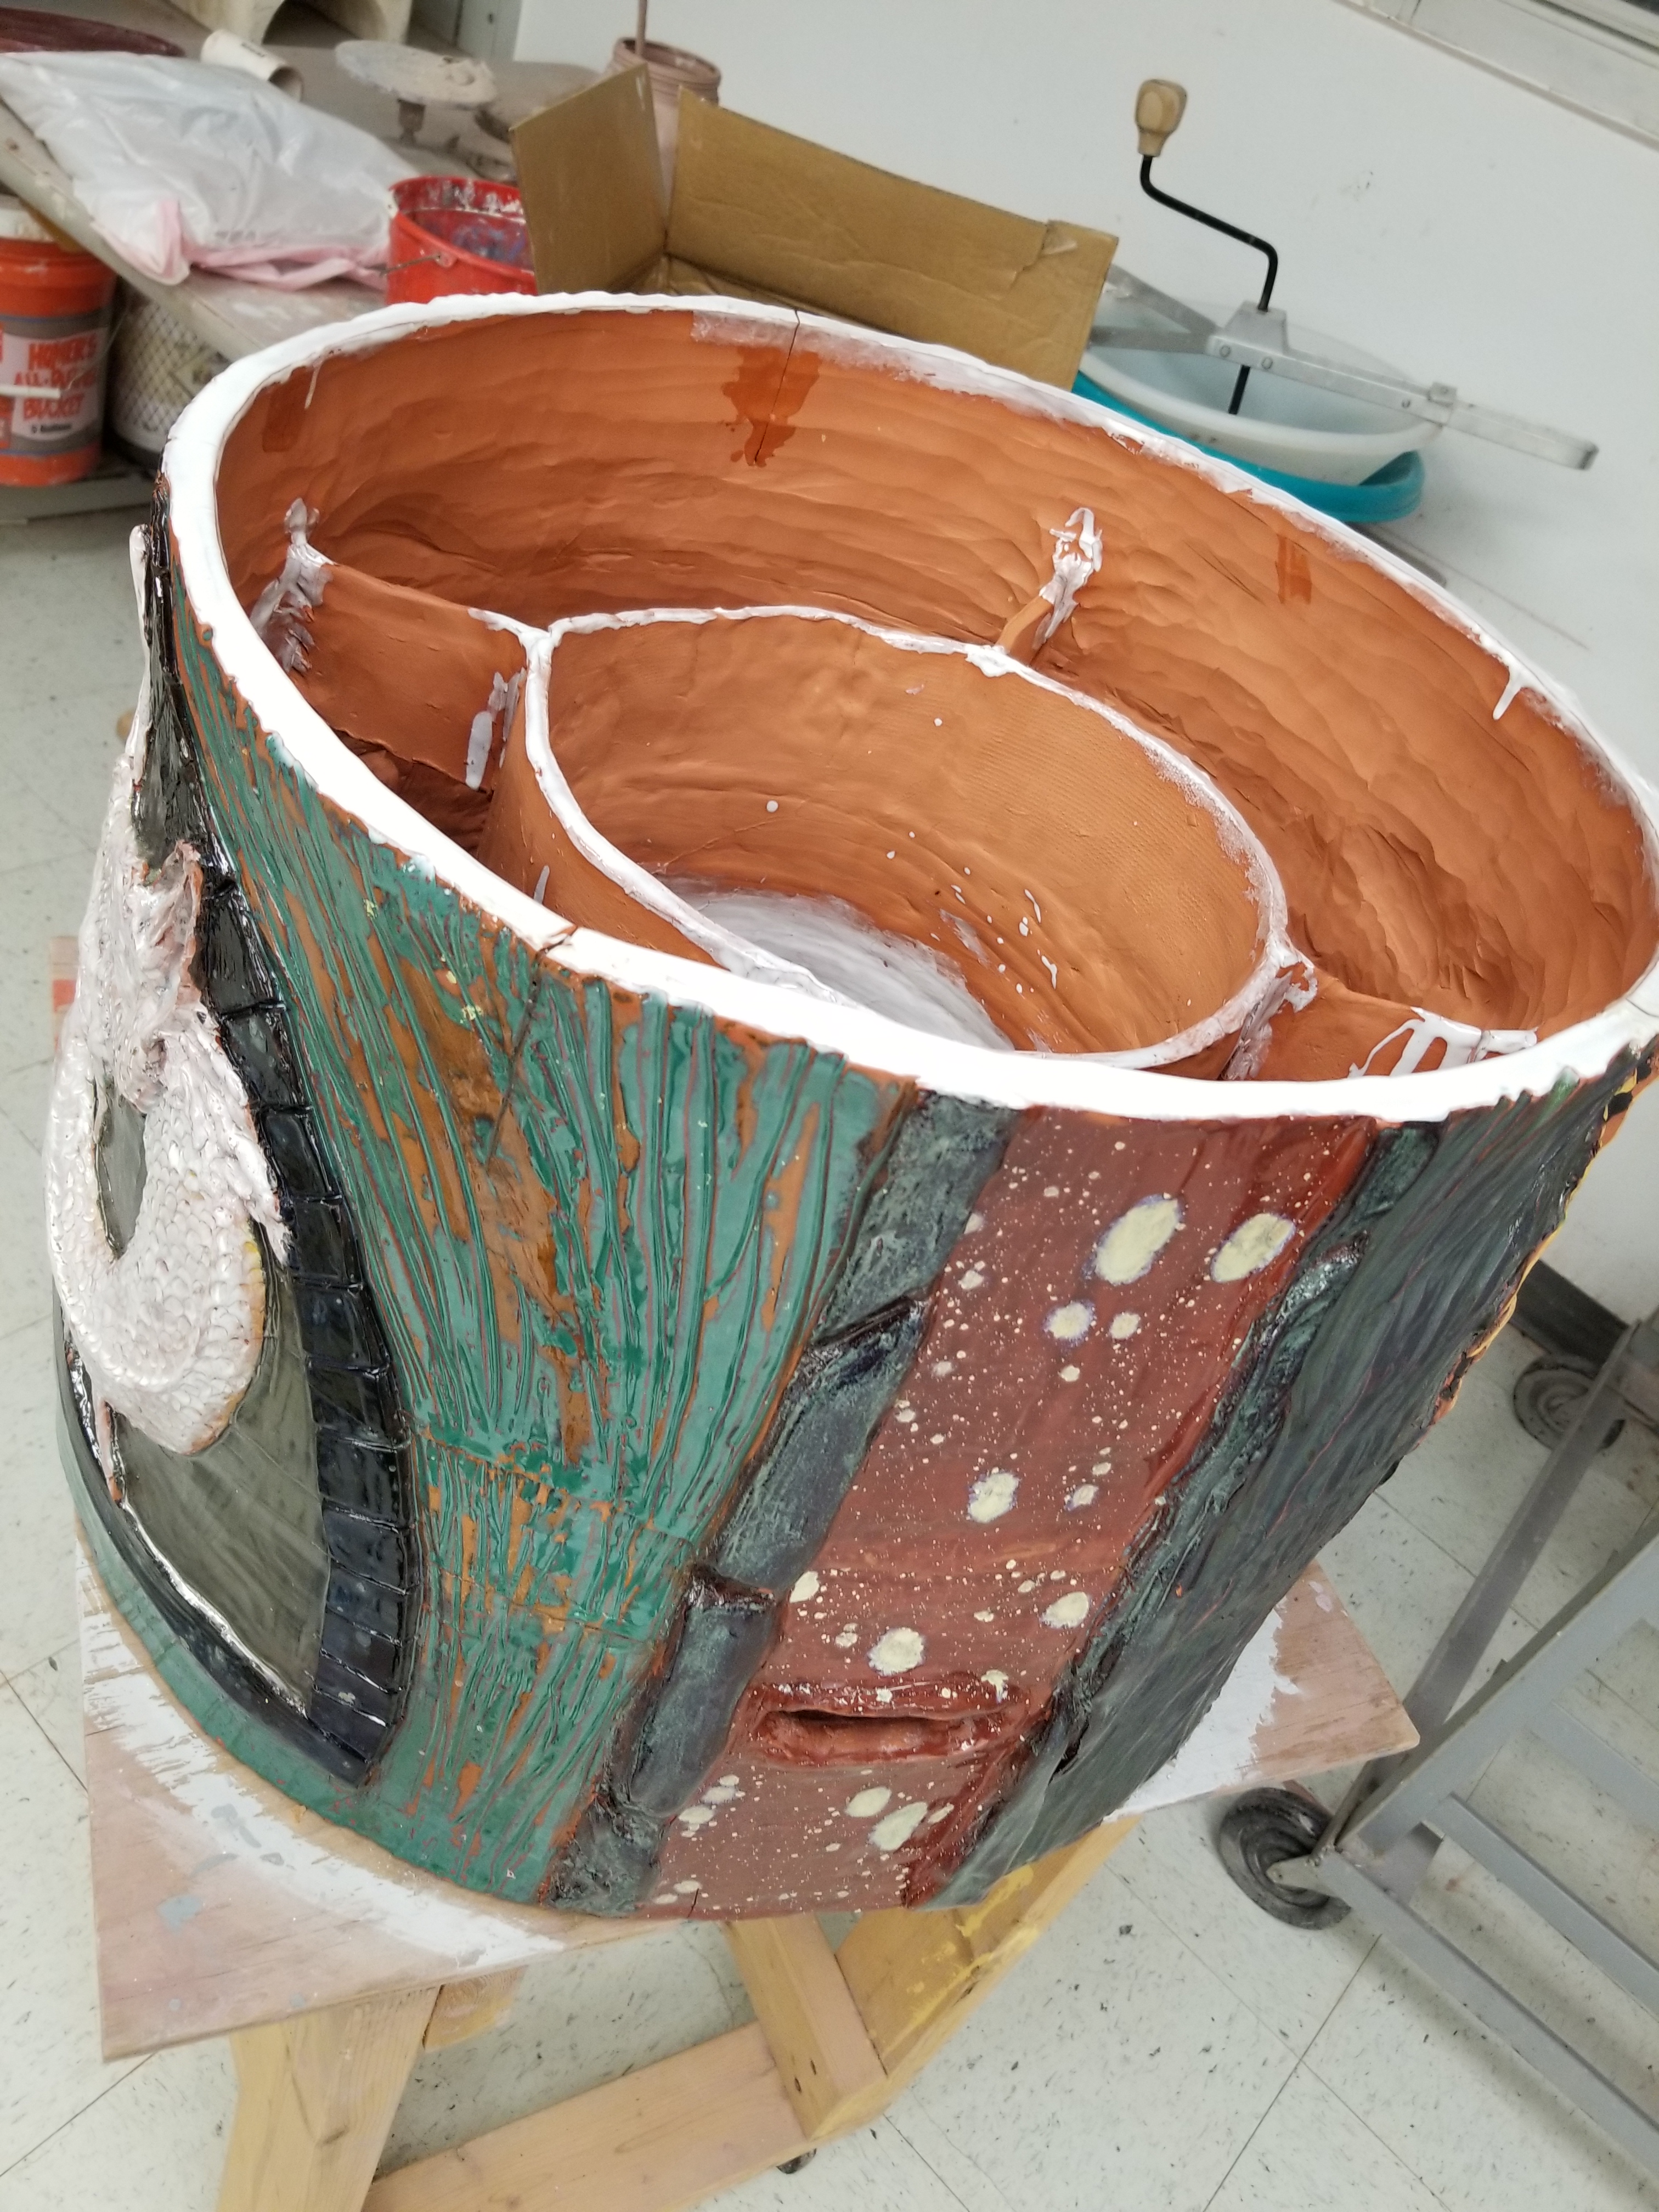
In the end, all large hand made ceramic work will crack in one way or another. This piece was no exception. It cracked everywhere. Some epoxy and silicone sealant did the trick to firm up the cracks.

The planter was ready for its permanent resident. The lemon tree that I have is very special. It hails from a place that is know for it’s very large and very sweet lemons. I have cloned its branches to propagate it as much as I can and hopefully we can create a unique citrus to Florida from it. It lived in a standard, store bought ceramic planter from home depot. The one I made was much roomier and designed to be drought resistant.
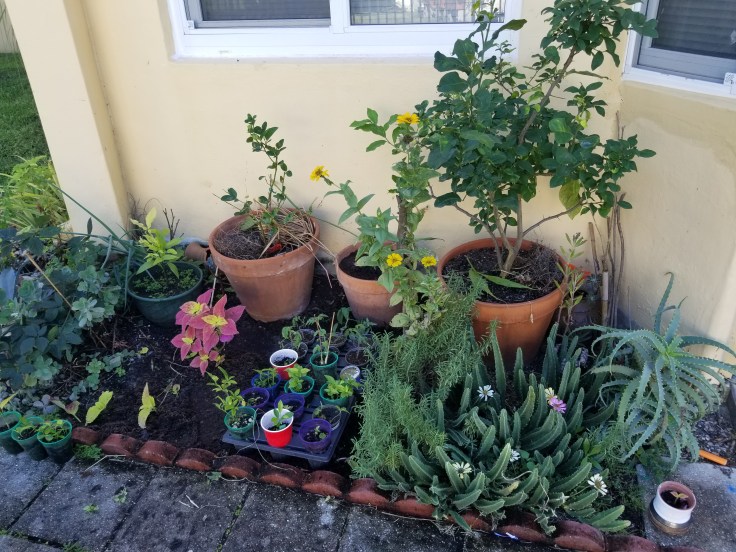

Moving it to it’s new home was not easy but it was definitely much needed. It even opened up a new home for the newest addition to the citrus family in my collection, the kumquat collected in the Florida Keys when we found out we were having twins, the seed of which split into two trees. That will be a story for another day. For now, I would like to admire the lemon tree in it’s new home and hopefully it takes well to it and flourishes to produce delicious fruit one day.
Larger Jars
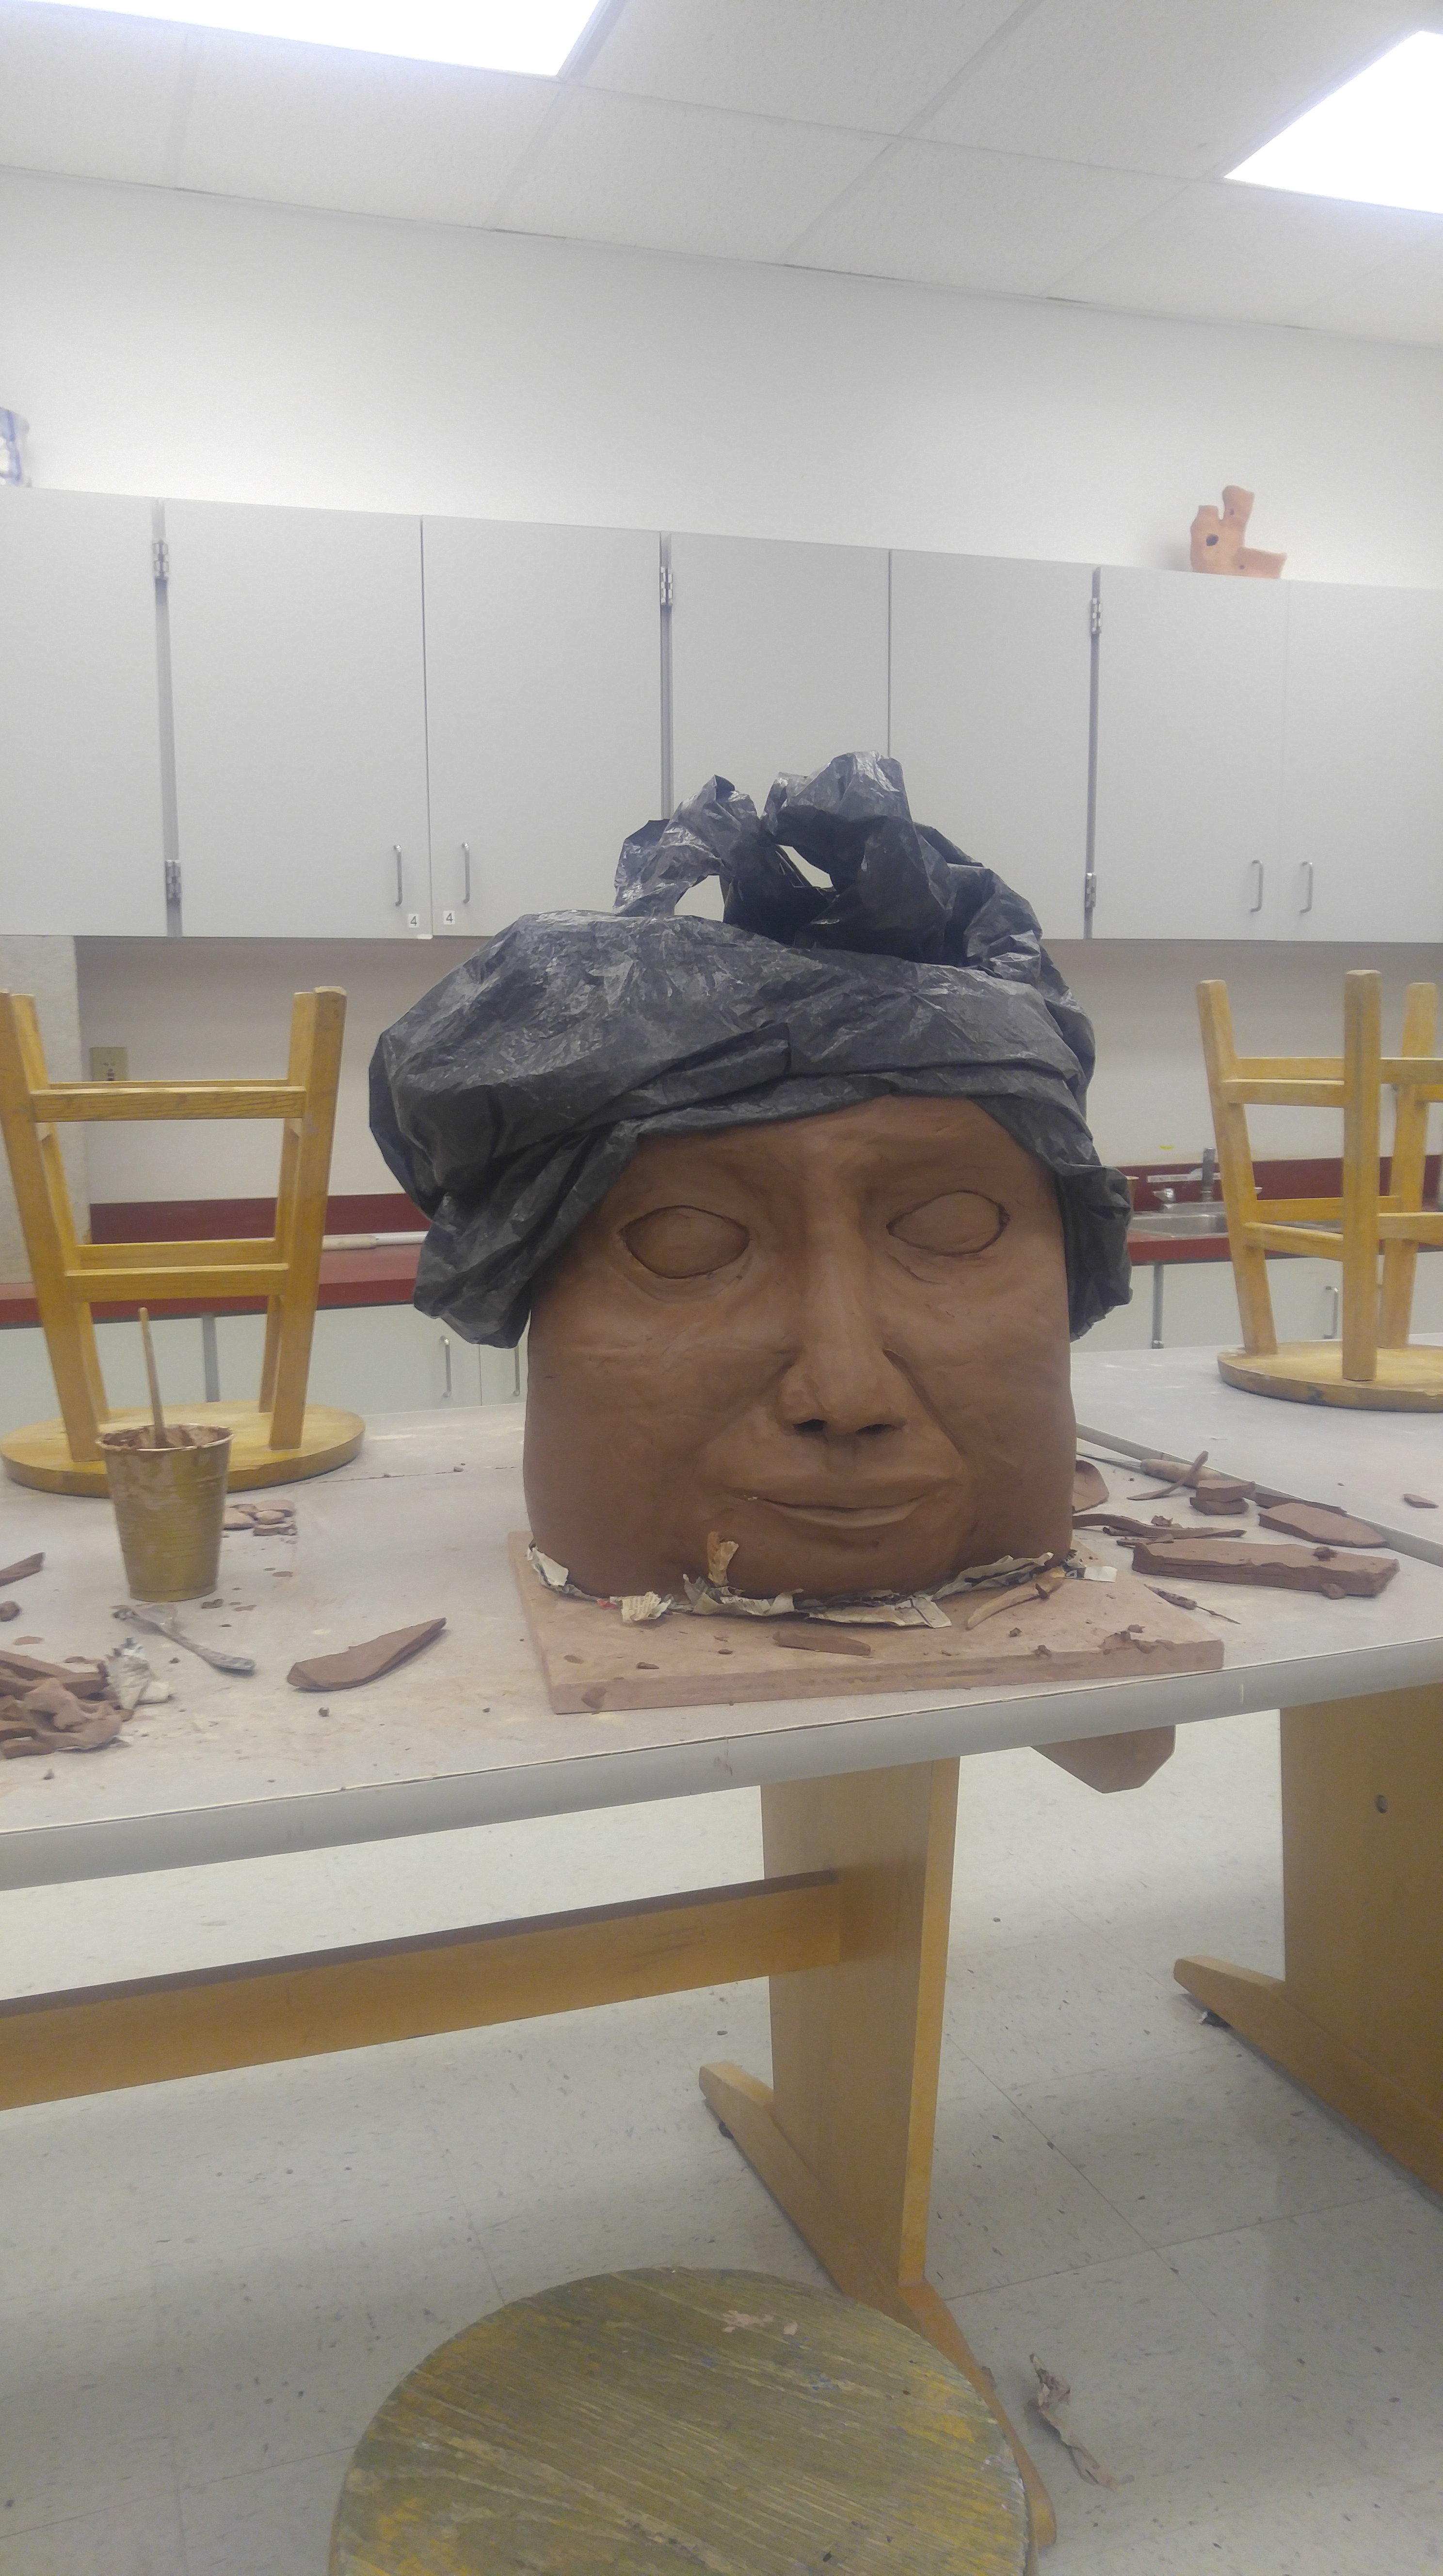
I’m beginning to regain the confidence I had those many years ago. I’ve stretched my legs and made a series of jars at a decent scale. One afternoon, I walked in to the studio and saw Bess working on a large piece, as he tends to regularly do. But this one was wonky. I liked it.
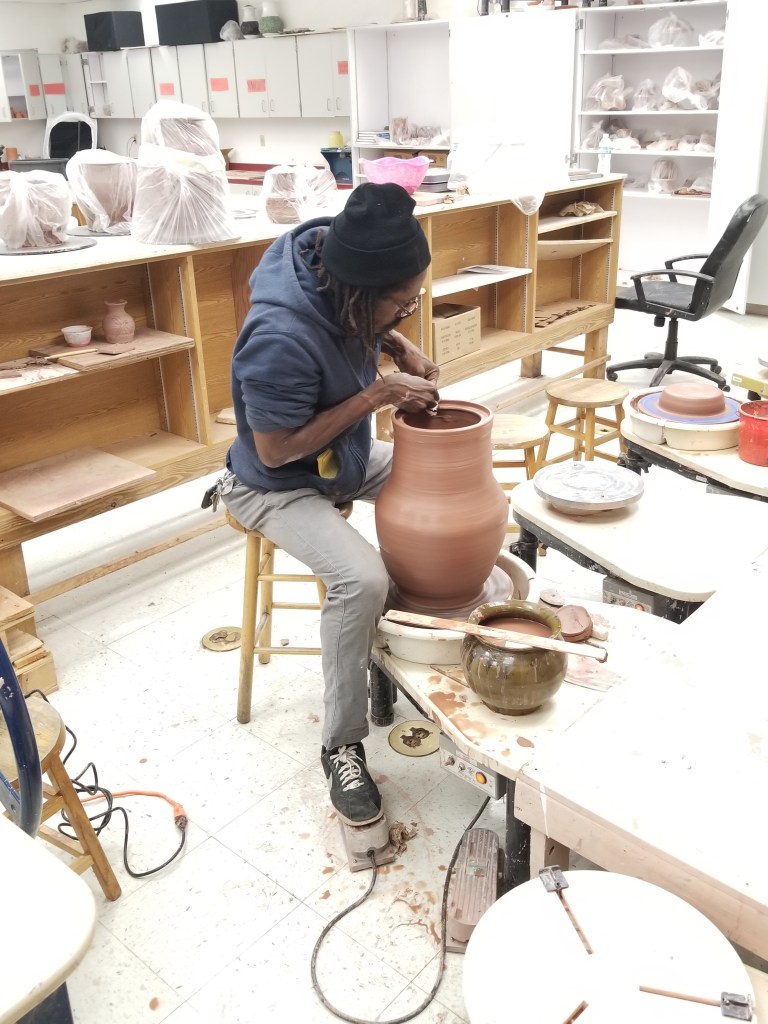
I distictly remember praising the work, admiring his effort, then once the ego was thoroughly stroked, I decided it was time to lead through example. My exact words were “ok, now it’s time to put you in your place”. Like yoda pulling the x-wing out of the swamp, I started to show what could be done and how to do it.
It was with purpose and intention that I constructed the components to this piece as large as I could to fit the kiln as tight as possible without making a sagger box effect, a Dutch pot of sorts is what I am trying to avoid. The secondary vessel within a kiln could, in theory, create a cold spot inside the piece and cause the inside to under fire. Especially if you consider that these kilns have a hard time holding temperature due to needing maintenance.
This one will reach the other end of the scale in the kiln, height. When finished, it will exceed the kiln space with the lid on. For the time being, it will be a few inches shy of the maximum height clearance for the inside of the kiln without the lid on. The two will be fired separately and unified at the end. I have to succeed on this one. My bite needs to match that bark and my reputation as a potter is on the line. Do or do not, there is no try. I’ll post new progress soon.

Leave a comment